Red Tip Photinia Plants: History, Growth Rate, Planting, Problems, and More
Red tip photinia (Photinia × fraseri) is a hybrid evergreen shrub in the rose family, Rosaceae. It is a cross between the Japanese photinia (Photinia glabra) and the Chinese photinia (Photinia serrulata).
The genus name Photinia comes from the Greek word photeinos, meaning “shining” — a fitting reference to the plant’s glossy leaves.
The species epithet fraseri honours Ollie W. Fraser, the nurseryman who first recognised the hybrid growing in his nursery in Birmingham, Alabama, around 1940. It was formally described and named by botanist William Dress in 1961.
Today, red tip photinia is one of the most widely planted ornamental shrubs in the south-eastern United States, and it has found favour in gardens across Europe, Australia, and parts of Asia. It looks spectacular for most of the year with relatively modest care.
| Common Name | Red Tip Photinia, Fraser Photinia, Christmas Berry |
| Scientific Name | Photinia × fraseri Dress |
| Plant Family | Rosaceae (Rose family) |
| Plant Type | Broadleaf evergreen shrub / small tree |
| Origin | Hybrid of Photinia glabra (Japan) × Photinia serrulata (China) |
| Hybridised | c. 1940, Fraser Nursery, Birmingham, Alabama |
| Mature Height | 10–15 ft (3–4.5 m) as a shrub; up to 20 ft (6 m) as a trained tree |
| Mature Spread | 8–12 ft (2.4–3.7 m) |
| Growth Rate | Moderate to fast; 1–2 ft (30–60 cm) per year |
| USDA Hardiness Zones | 7B through 9 (with protection in Zone 7A) |
| Sunlight | Full sun (6+ hours); tolerates partial shade |
| Soil pH | 6.0–7.0 (slightly acidic to neutral) |
| Soil Type | Well-drained, fertile; tolerates most soils except waterlogged |
| Watering Needs | Moderate; drought-tolerant once established |
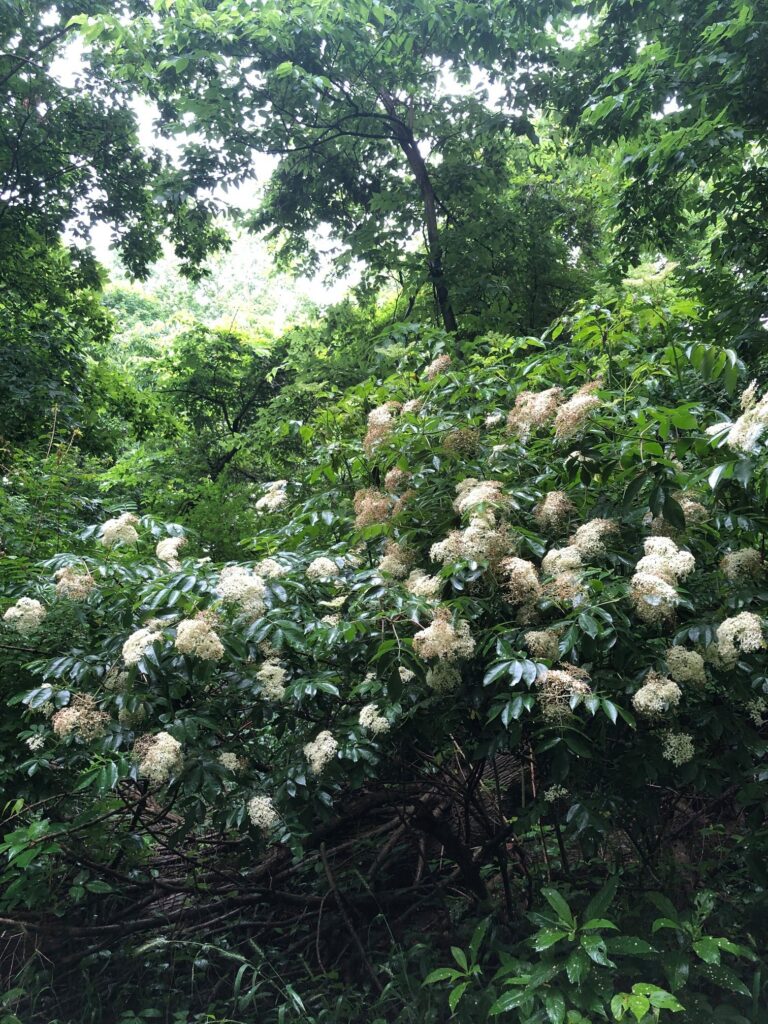
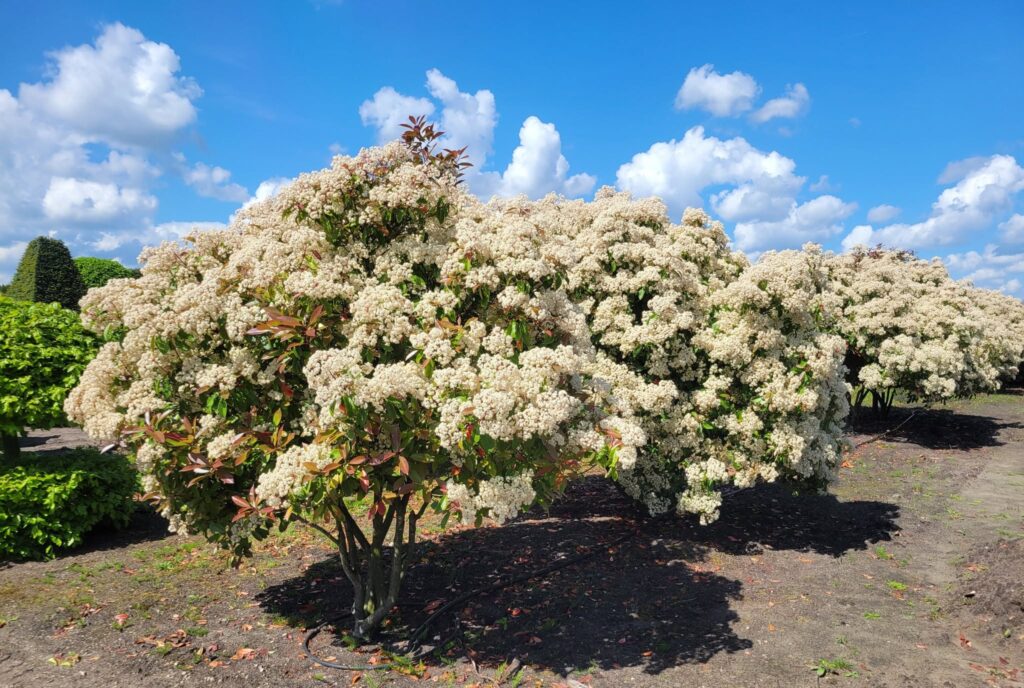
| Bloom Time | Mid-spring (April–May) |
| Flower Colour | White (small, borne in panicles; mildly unpleasant scent) |
| Foliage Colour | New leaves: vivid red-crimson; Mature leaves: glossy dark green |
| Fruit | Small red berries (autumn into winter if unpruned) |
| Lifespan | Up to 50 years with proper care |
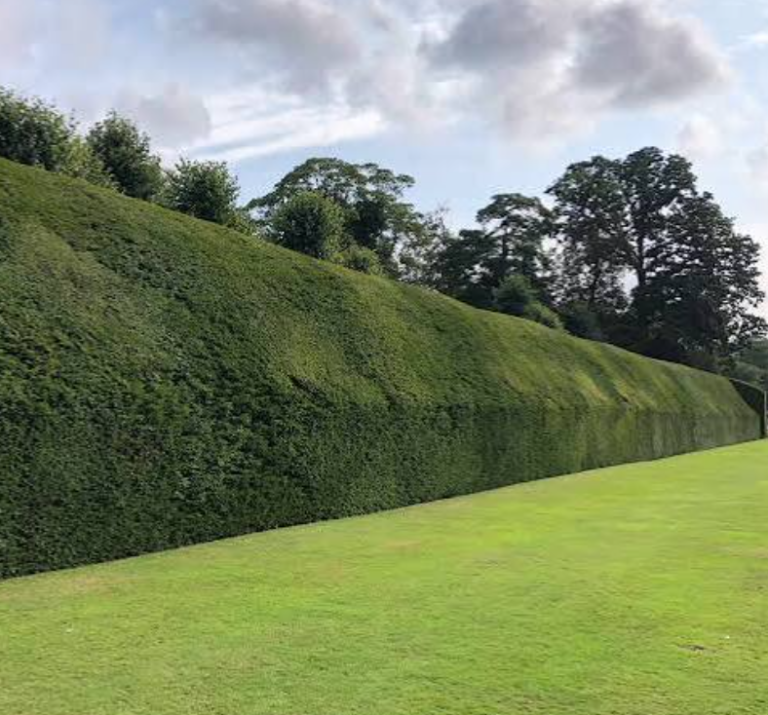
| Primary Landscape Use | Privacy hedge, screen, border specimen, topiary standard |
| Key Pest/Disease Risk | Entomosporium leaf spot (fungal) |
| Toxicity | Leaves and berries mildly toxic if ingested in large quantities |
Botanical Background and Classification
Understanding the plant’s classification helps gardeners choose the right species and avoid common confusion with related photinias.
Scientific classification:
- Kingdom: Plantae
- Order: Rosales
- Family: Rosaceae
- Genus: Photinia
- Species: P. × fraseri
The “×” in the name signals that this is a nothospecies — a formally recognised hybrid. It is not found growing wild anywhere in the world. Every plant you encounter in a nursery or garden is a cultivated specimen descended from that original hybrid cross.
The genus Photinia contains approximately 60 species distributed across southern China, Southeast Asia, and parts of Japan. Most are evergreen trees or large shrubs naturally growing in thickets at altitudes of 600–1,000 metres.
Red tip photinia is the most commercially significant member of the genus, largely because of that eye-catching new growth.
Several cultivars are in widespread cultivation. Notable ones include:
- ‘Red Robin’ — compact, with particularly bright red new growth; holds the RHS Award of Garden Merit
- ‘Little Red Robin’ — a dwarf form reaching only 2–3 ft; ideal for containers or small spaces
- ‘Pink Marble’ — variegated leaves with pink and cream margins; slower growing
- ‘Camilvy’ — another RHS Award of Garden Merit recipient; strong upright form
- ‘Curly Fantasy’ — unusual wavy leaf margins; grown more as a novelty specimen
Why Gardeners Love This Plant
I have spoken to many gardeners who describe red tip photinia as one of those rare plants that earns its place twice over.
First, for the seasonal colour show. Second, for its usefulness including screening out neighbours, muffling noise, or simply defining a boundary — without demanding constant attention.
Here is what makes it genuinely useful:
- Year-round visual interest. The plant is evergreen, so it never goes bare. New red growth flushes appear in spring and again after each pruning, meaning you can time your trims to produce colour displays on demand.
- Fast establishment. Growing at 1–2 feet per year, a small transplant can form a substantial hedge within three to five years — far faster than many traditional screening plants.
- Structural flexibility. Left unpruned, it becomes a broad, rounded shrub or small tree. Pruned regularly, it shapes into a tight formal hedge. It can even be trained into a single-stemmed standard (tree form), which is particularly popular in California landscapes.
- Soil adaptability. While it prefers fertile, well-drained conditions, it copes with a wide range of soil types — sand, loam, and light clay — provided waterlogging does not occur.
- Modest water demand. Once established, mature plants are moderately drought-tolerant. This is a meaningful advantage in regions with summer dry spells.
Ideal Growing Conditions
Red tip photinia thrives under the following conditions:
Sunlight
Full sun is the preferred position, meaning at least six hours of direct sunlight daily. In full sun, the new red leaves are at their most vivid, and the plant’s overall form is denser and more compact.
Partial shade is tolerated — the plant will grow — but the new growth tends to emerge as a duller bronze rather than a bright crimson.
More importantly, shaded conditions reduce air circulation around the foliage, which is a significant factor in disease susceptibility. If you are planting near a wall or fence, make sure the site is not heavily shaded.
In very hot climates (parts of Texas, Arizona, and the Deep South), morning sun with afternoon shade can reduce heat stress while still maintaining acceptable foliage colour.
Soil Requirements
Red tip photinia is more forgiving about soil than many ornamental shrubs, but a few conditions are non-negotiable.
Good drainage is essential. This plant does not tolerate waterlogged roots. Soil that stays persistently wet encourages root rot and dramatically increases vulnerability to fungal diseases.
If your garden has heavy clay soil, raise the planting bed or amend the soil thoroughly with coarse grit and organic matter before planting.
The ideal soil is slightly acidic to neutral, with a pH between 6.0 and 7.0. Alkaline soils above pH 7.5 can cause nutrient deficiencies, particularly iron chlorosis, resulting in yellowed leaves. A soil test before planting is always a worthwhile investment.
Organic matter — well-rotted compost or aged leaf mould — improves both drainage in clay soils and water retention in sandy ones. Work it into the planting area generously.
Temperature and Climate
Red tip photinia is reliably hardy in USDA Hardiness Zones 7B through 9. Established plants can tolerate brief temperature dips to around 0°F (−18°C), but sustained cold below this threshold causes significant dieback.
In Zone 7A, plants generally survive with protection: a thick layer of organic mulch over the root zone and some wind shelter are usually sufficient.
In Zone 10 and above, the combination of heat and humidity dramatically increases the risk of fungal disease and root problems, making long-term success more challenging.
Microclimate matters considerably. A south-facing, sheltered position in a slightly cooler zone often outperforms an exposed site in a nominally warmer one.
Planting Red Tip Photinia: Step by Step
The best planting times are early spring or autumn, when temperatures are mild and rainfall is more reliable. Avoid planting in the height of summer if you can — the heat stresses newly transplanted shrubs.
Step 1: Choose the right location
Select a spot with full sun and good air movement. Avoid low-lying areas where cold air or moisture pools. Check that the soil drains adequately by digging a hole about 12 inches deep, filling it with water, and observing how quickly it drains. It should be empty within 30 minutes.
Step 2: Prepare the soil
Dig in generous amounts of compost or well-rotted organic matter across the planting area, not just in the planting hole. This encourages the roots to spread outward rather than circling within an amended hole.
Step 3: Dig the planting hole
Make it slightly wider than the root ball but no deeper. Planting too deep is one of the most common causes of failure — the top of the root ball should sit level with, or very slightly above, the surrounding soil surface.
Step 4: Position the plant
Remove the plant from its container and loosen any circling roots gently. Place it in the centre of the hole.
Step 5: Backfill and firm
Fill the hole with the original soil, pressing it down gently in layers to remove air pockets. Do not add fertiliser directly into the planting hole at this stage — it can burn young roots.
Step 6: Water thoroughly
Give the newly planted shrub a deep, thorough soaking immediately after planting. This settles the soil and initiates root contact.
Step 7: Apply mulch
Spread a 2–3 inch layer of organic mulch — bark chips, wood chippings, or composted leaves — around the base of the plant. Keep the mulch away from direct contact with the stem to prevent rot. Mulch retains soil moisture, moderates temperature, and suppresses competing weeds.
Spacing for Hedges
For a dense privacy hedge, plant at 4–6 feet (1.2–1.8 m) apart. Closer spacing creates a faster screen but reduces airflow between plants — a notable risk factor for leaf spot disease. For looser, informal screens, 6–8 feet is more appropriate.
Resist the temptation to plant too closely; it is a decision that tends to cause problems further down the line.
Watering
During the first growing season, consistent watering is critical. Water deeply two to three times per week in dry conditions, ensuring the moisture reaches well below the root ball. This encourages the roots to grow downward rather than staying near the surface.
Once established — typically after the first full growing season — the plant’s water needs drop significantly. Water deeply but less frequently: allow the top inch or two of soil to dry slightly between watering sessions. Deep, infrequent watering encourages a deeper, more resilient root system.
A practical schedule for established plants in dry periods is one thorough soaking per week, delivering approximately five to six gallons at the root zone.
Avoid overhead irrigation, which wets the foliage and creates ideal conditions for fungal disease. A soaker hose or drip irrigation system is far preferable.
Never let the root zone sit in standing water. Persistently soggy soil weakens the plant and is one of the fastest routes to serious decline.
Fertilising
Red tip photinia is not a heavy feeder, and many established plants in reasonably fertile soil need no supplemental fertiliser at all. However, a light application each spring gives the plant a useful boost at the start of the growing season.
Apply a balanced, slow-release fertiliser — such as a 10-10-10 or an equivalent formulation designed for evergreen shrubs — in early spring as new growth begins. Follow the manufacturer’s dosage instructions carefully; more is not better here.
Avoid high-nitrogen fertilisers, especially late in the growing season. Excess nitrogen stimulates lush, tender new growth that is more vulnerable to fungal attack and cold damage. The goal is steady, healthy growth — not the fastest possible extension.
If the leaves show signs of yellowing between the veins (interveinal chlorosis), this usually indicates an iron or magnesium deficiency, often related to soil pH being too high. A foliar feed with chelated iron or a soil acidifier will usually correct this within a few weeks.
Pruning Red Tip Photinia
Pruning is arguably the most important — and most rewarding — aspect of managing this plant. It serves two purposes: shaping and size control, and triggering fresh flushes of that brilliant red new growth.
When to Prune
Late winter to early spring is the primary pruning window, just before the season’s first new growth emerges. This timing shapes the plant and stimulates a vibrant spring flush.
Light tidying cuts can be made throughout the growing season as needed. Many gardeners make two or three passes per year to maintain a formal hedge and keep triggering new red growth.
Avoid pruning in wet weather. Fungal spores spread readily on wet tools and wet plant tissue. Always prune during dry conditions, and disinfect your cutting tools with a diluted bleach solution or isopropyl alcohol between plants.
How to Prune
For a formal hedge, use hedge shears to maintain the desired shape, keeping the top slightly narrower than the base. This “battered” profile allows sunlight to reach the lower branches and prevents the base from becoming bare over time.
For individual specimens, use sharp, clean secateurs to remove dead, damaged, or crossing branches first. Then make selective cuts to open the canopy slightly and improve airflow — this is meaningful disease prevention.
Do not remove more than one-third of the plant’s total volume in a single pruning session. Hard, drastic cuts weaken the plant and slow recovery.
Common Diseases and Pests (Problems)
The following are common challenges that Red tip photinia plants face:
Entomosporium Leaf Spot
This is, by a considerable margin, the most serious problem red tip photinia faces. The disease is caused by the fungus Entomosporium maculatum, and it can be devastating in humid, poorly ventilated conditions.
Early symptoms are small, circular red spots on both upper and lower leaf surfaces of young growth. As the disease progresses, the spots enlarge, develop grey centres with dark borders, and may cause premature leaf drop. In severe cases, repeated defoliation weakens the plant to the point of death.
Prevention is far more effective than treatment:
- Plant in full sun with good air circulation
- Space plants adequately — do not crowd them
- Water at the base, never overhead
- Prune during dry weather with disinfected tools
- Remove and dispose of fallen infected leaves promptly
Fungicide applications can slow the disease but rarely eliminate it once it is well established.
Products containing myclobutanil, propiconazole, or thiophanate-methyl offer some control when applied preventatively in spring and continued through the growing season. Always follow label instructions precisely.
If a plant is severely infected and repeatedly defoliates despite treatment, replacement with a more disease-resistant species is often the most practical decision.
Powdery Mildew
Powdery mildew appears as a white, dusty coating on leaf surfaces, typically during periods of warm days and cool nights. It is more common on plants growing in shaded conditions with poor airflow. Improving site conditions usually reduces its severity; fungicide treatment is rarely necessary.
Fire Blight
Fire blight (Erwinia amylovora) is a bacterial disease that causes shoots to die back rapidly, turning brown and remaining attached to the plant in a characteristic “shepherd’s crook” shape.
Prune affected shoots well below the diseased tissue — at least 12 inches into healthy wood — and disinfect tools between cuts. Avoid excessive nitrogen fertilisation, which promotes the soft growth that fire blight attacks most readily.
Scale Insects
Various scale insects occasionally colonise photinia, appearing as small, waxy or crusty bumps on stems and leaf undersides. Severe infestations can cause yellowing and leaf drop.
Horticultural oil applied in late winter, before new growth emerges, is an effective and low-impact treatment.
Propagation
Red tip photinia is most reliably propagated from semi-hardwood cuttings taken in late summer (typically July through September in the northern hemisphere).
Method:
- Select healthy, non-flowering stems of the current season’s growth that have begun to firm up but are not yet fully woody.
- Cut sections approximately 4–6 inches long, just below a leaf node.
- Remove the lower leaves, leaving only the top two or three pairs.
- Dip the cut end in rooting hormone powder or gel.
- Insert the cuttings into a well-draining propagation mix — equal parts perlite and coarse sand works well.
- Water gently and cover with a clear plastic bag or propagation dome to maintain humidity.
- Keep in a warm location with bright, indirect light. Bottom heat (around 70°F / 21°C) improves rooting success.
- Roots typically develop within 6–10 weeks. Pot on once roots are established.
Growing from seed is possible but slow, and seedlings may not reliably reproduce the parent plant’s characteristics. Cuttings are the preferred method for home gardeners.
Landscape Uses
Red tip photinia earns its place in a wide range of landscape settings.
Privacy screening and hedging remain its most popular applications. A well-maintained row of red tips creates a dense, year-round barrier that also provides seasonal colour — something few other screening plants can offer at the same growth rate.
Specimen planting works well when a single plant is given enough space to develop its full, rounded form. Used this way, it becomes a focal point in mixed borders or lawn settings.
Trained standards — single-stemmed plants pruned to create a lollipop or umbrella form — are particularly effective in formal garden settings and are commonly seen in Mediterranean and Californian landscapes.
Foundation planting around buildings benefits from the plant’s dense, year-round coverage and manageable size when pruned regularly.
One practical consideration: the flowers, while attractive, carry a noticeable and rather unpleasant scent that many people find off-putting. Regular pruning prevents or limits flowering, which is often an advantage rather than a loss.
Alternatives to Consider
Red tip photinia’s susceptibility to Entomosporium leaf spot has led many landscape professionals and experienced gardeners to consider alternatives, particularly in humid climates.
- Chinese photinia (Photinia serrulata) — one of the parent species — is far more resistant to leaf spot. It is a larger plant (up to 20 ft) with less vivid new growth, but it is significantly more reliable where the disease is a recurrent problem.
- Japanese photinia (Photinia glabra) — the other parent species — sits between the two in terms of disease resistance and overall size, with foliage colour nearly as bright as the hybrid.
- Chinese fringe flower (Loropetalum chinense) offers similar red new growth and is widely considered more disease-resistant. It is an excellent hedge plant in similar climate zones.
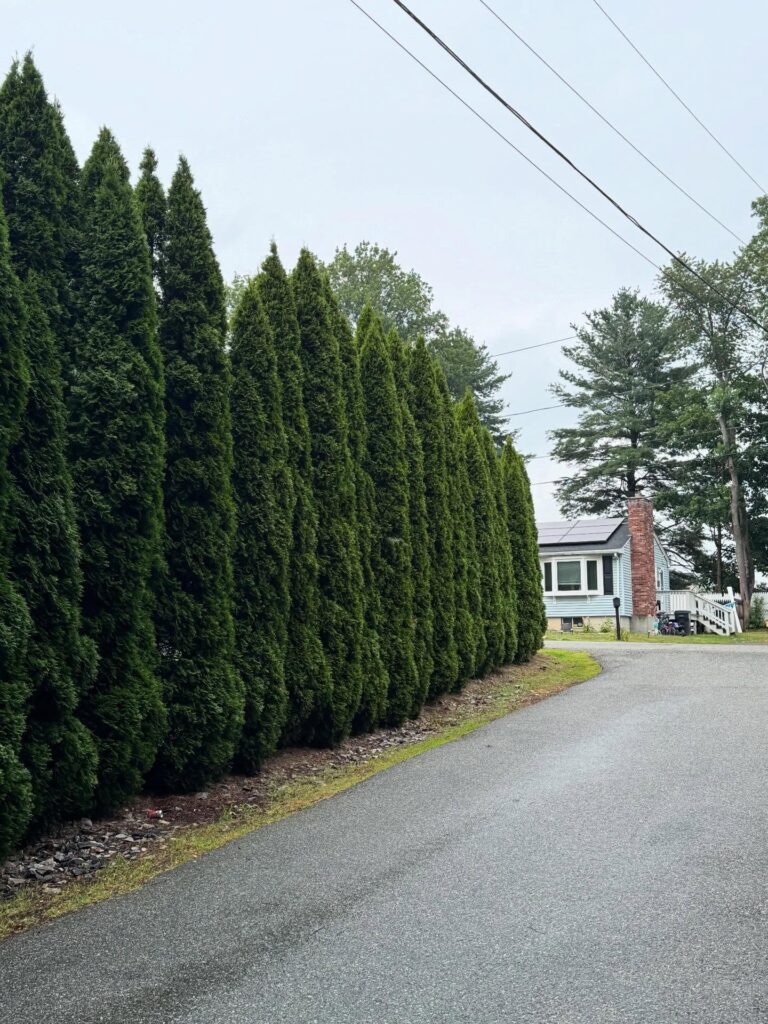
- Leyland cypress, cherry laurel, and wax-leaf ligustrum are common alternatives for pure screening purposes where foliage colour is less important.
Tips for Long-Term Success
After everything covered above, a few key principles deserve emphasis. These are the ones that genuinely separate a thriving red tip photinia from a struggling one.
- Plant in full sun with generous spacing. Everything else flows from these two decisions. Dense plantings in shade are the single biggest driver of disease problems.
- Water at the base, not overhead. Wet foliage is an open invitation to fungal infection.
- Prune regularly, but lightly. Frequent light pruning produces better results — more red growth, better airflow, less disease — than infrequent heavy cuts.
- Prune only in dry conditions with clean, disinfected tools. This simple habit prevents the spread of disease between plants.
- Remove fallen leaves promptly, especially any showing signs of spotting. Infected leaf litter is a primary source of re-infection the following season.
- Do not overwater. Established plants prefer to dry out slightly between waterings. Persistently moist roots are as damaging as drought.
References
- Clemson University Cooperative Extension – Home & Garden Information Center Factsheet: Photinia (Red Tip) https://hgic.clemson.edu/factsheet/photinia-red-tip/
- University of Arkansas Cooperative Extension Service Redtip Photinia (Photinia x fraseri) – Plant of the Week https://www.uaex.uada.edu/yard-garden/resource-library/plant-week/photina-retip.aspx
- University of Florida IFAS Extension (Institute of Food and Agricultural Sciences) Gilman, E.F. & Watson, D.G. Fact Sheet ST-447: Photinia x fraseri. Florida Cooperative Extension Service. https://hort.ifas.ufl.edu/database/documents/pdf/tree_fact_sheets/phofraa.pdf
- NC State Extension – Plants Database (North Carolina State University) Photinia × fraseri – Fraser’s Photinia https://plants.ces.ncsu.edu/plants/photinia-x-fraseri/common-name/frasers-photinia/
- Arizona State University – Arbor Day Foundation Plant Library Photinia × fraseri – Red Tip Photinia. ASU Campus Arboretum Resource. https://www.asu.edu/lib/camartin/plants/Plant%20html%20files/photiniafraseri.html
- University of South Florida – Plant Atlas Photinia × fraseri Dress – Specimen and distribution records. https://florida.plantatlas.usf.edu/plant/species/4944
- National Center for Biotechnology Information (NCBI) – PubMed Central The complete chloroplast genome sequence of Photinia × fraseri, a medicinal plant and phylogenetic analysis. PMC8451673. https://pmc.ncbi.nlm.nih.gov/articles/PMC8451673/
Tim M Dave is a gardening expert with a passion for houseplants, particularly cacti and succulents. With a degree in plant biology from the University of California, Berkeley, he has vast experience in gardening. Over the years, he has cultivated a vast collection of desert plants and learned a great deal about how to grow and care for these unique companions.