How to Make a Closed Terrarium – Ultimate DIY Guide
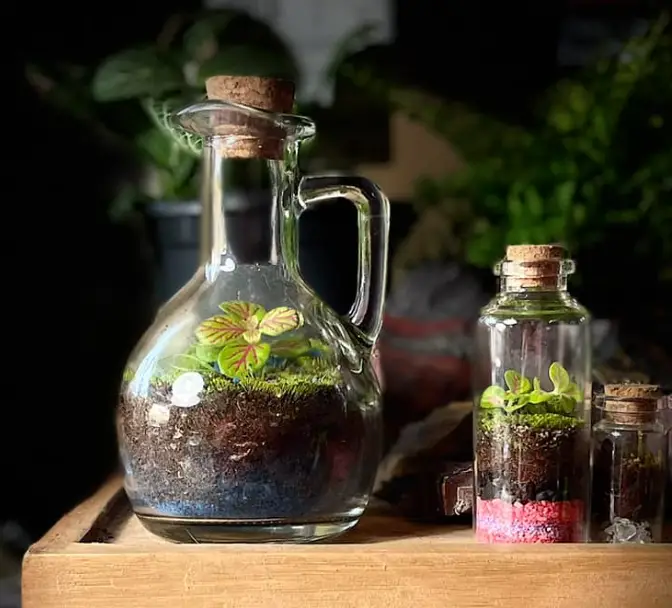
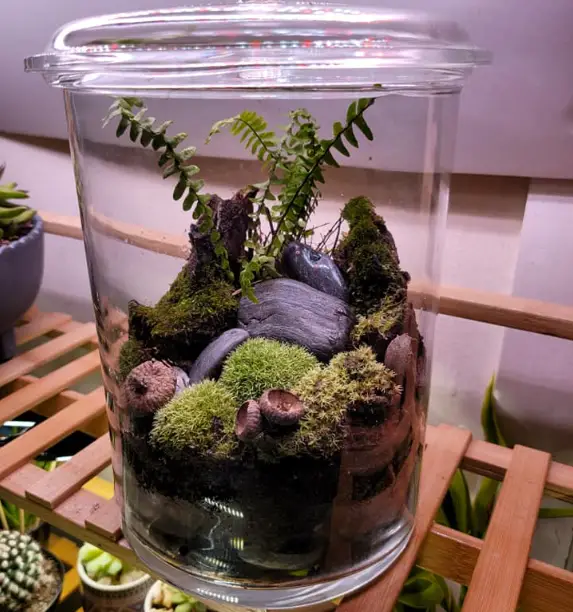
Closed terrariums can be a beautiful addition to any space including home and office. They are usually sealed to create a self-sustaining ecosystem where plants grow and thrive with minimal care. The container is usually transparent, allowing in light and you can also observe the plants inside.
The closed terrarium works on the principle of the water cycle. When the container is sealed, the moisture inside evaporates and condenses on the glass. The water then drips back into the soil, creating a self-sustaining system. This reduces the need for frequent watering.
Since a closed terrarium creates a microclimate with higher humidity levels, it’s important to use plants that thrive in such conditions. You also have to monitor the moisture levels to prevent excessive buildup and the growth of mold in the terrarium.
Read on to learn how to make your own closed terrarium
How to make a closed terrarium
Making a closed terrarium is typically fun and a relatively easy project. It’s something you can try during your free summer time.
Here’s a step-by-step guide on how to make one:
Materials you’ll need:
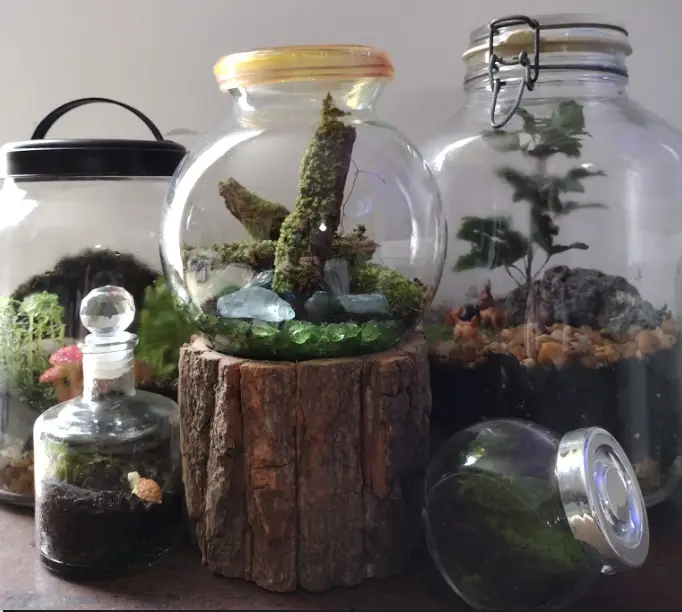
- Glass container with a lid or cover such as a mason jar, bottle, or fish bowl.
- Small pebbles or gravel (Available at home improvement stores).
- Activated charcoal (Available at garden centers).
- Potting soil preferably a well-drained mix when growing succulents.
- Small plants that are suitable for terrariums (such as moss, ferns, or succulents).
- Decorative elements like driftwood or rocks (This is optional).
- Spray bottle filled with water.
- Tweezers or chopsticks and scissors.
- Fine mesh (Optional)
- Springtails or isopods (Optional)
Step 1: Prepare the container
Clean your glass container thoroughly with a mild soap solution to remove any dirt or residue. Ensure it is properly rinsed and dry before proceeding. In the meantime, plan your terrarium layout. Think of the number of plants to include and their arrangement pattern.
Step 2: Add drainage layer
Fill the bottom of your container with a layer of small pebbles or gravel to create a drainage layer. These materials will hold excess water so that it doesn’t accumulate at the roots of the plants. The layer should be thick enough but not so wide that you run out of space for the soil.
Step 3: Add activated charcoal
On top of the pebbles, add a layer of activated charcoal. The charcoal helps in filtering the water and air inside the terrarium and this prevents odors and toxins from building up. Sphagnum moss can be used as an alternative to activated charcoal.
Sphugum moss can retain moisture in the soil while still allowing for adequate drainage. Additionally, it can provide some natural antimicrobial properties that can inhibit the growth of bacteria and fungi in the terrarium.
Step 4: Add the mesh layer
The addition of a mesh layer on top of the activated charcoal or moss is an option but helpful in preventing the soil from compacting into the drainage layer. Use scissors to cut the mesh into shapes so that it can fit well into the container.
Step 5: Add potting soil
Add a layer of dry potting soil to the container. Some people choose to make their own succulent soil when making a cactus terrarium by mixing coarse sand, standard potting soil, and pumice in equal parts. Otherwise, regular potting soil works fine for most plants.
The thickness of the soil layer will depend on the size of your container and the roots of the plants you’ll be using. Make sure to create enough space for the plants to fit comfortably.
Step 6: Plant the terrarium
Carefully create small holes in the soil and place your chosen plants inside, and cover the roots with soil. You can use a small spoon, tweezers, and chopsticks to help with planting if the container is too small.
It is important to note that, different plants have different care requirements, so it’s best to choose plants that will adapt well to the humid terrarium conditions. You can use different species of plants but make sure their care requirements are similar.
Step 7: Decorate (optional)
If desired, you can add small rocks and wood to enhance the terrarium’s aesthetic appeal. Moss can also be used to cover some gaps making everything look natural. Be careful not to overcrowd the container and crush the plants. Leave enough space for the plants to grow.
Step 8: Introduce springtails (optional)
Once everything is completely set, you can now introduce isopods or springtails in the terrarium. These are beneficial microorganisms that feed on decaying organic matter. Adding them will help in cleaning the ecosystem, aerate the soil and stop the growth of mold.
Springtails and isopods are sensitive to sudden changes in temperature and humidity, so it’s important to acclimate them to their new environment. Let them stay in their original packaging for a few days as they adjust to the new climate.
To add springtails, open their culture container near the soil surface and gently tap or shake the container to disperse them into the terrarium. They prefer moisture and you have to water the terrarium immediately after adding them.
Step 7: Water the terrarium
When you’re finished planting, use a spray bottle to lightly mist the soil and plants with water. Just provide enough moisture without overwatering. Closed terrariums will create a self-sustained ecosystem where water will recycle. Be sure to close or cover the container tightly after watering.
Step 8: Placement and care
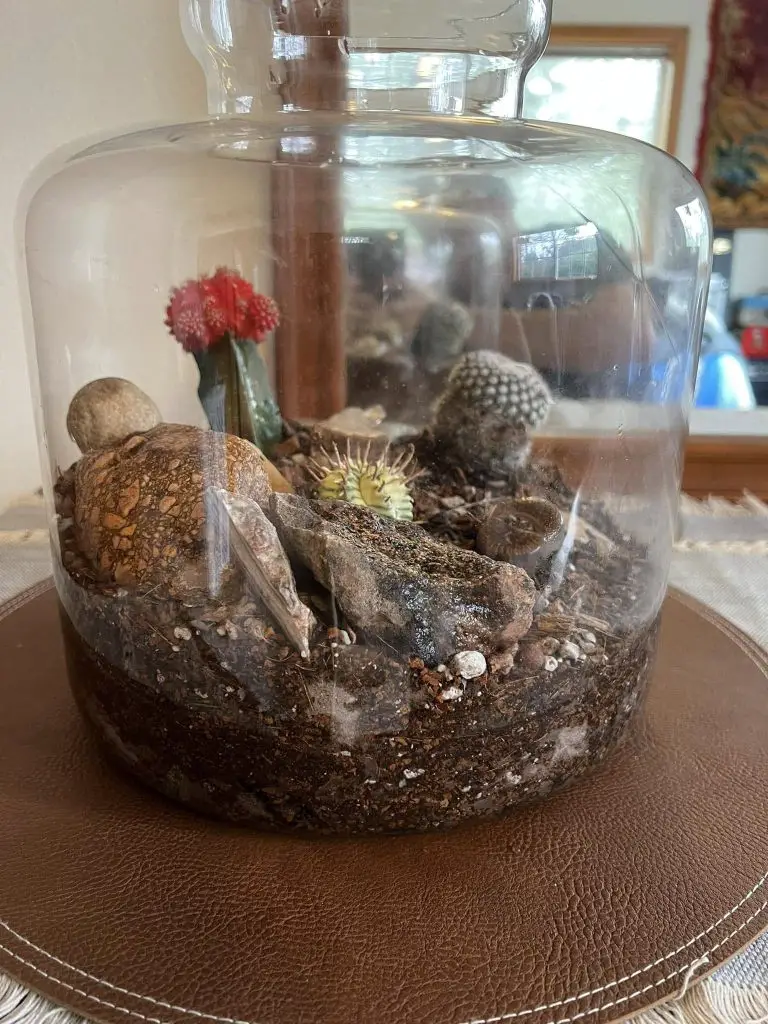
Place your closed terrarium in a location that receives indirect sunlight or bright, filtered light. Avoid placing it in direct sunlight, as it can create excessive heat that may damage the plants. I have not had any problem with mine placed at the east-facing window.
Monitor the terrarium regularly and open the lid for a few hours if condensation excessively builds up on the glass, as this can indicate excess moisture. If the terrarium walls remain clear and the soil appears too dry, you can lightly mist it with water.
Over time, trim or prune the plants as needed to maintain their size and shape. This also reduces overcrowding and promotes free airflow into the terrarium. As an important part of closed terrarium care, don’t forget to clean the glass once in a while to remove any residue.
Open vs closed terrarium
If you are uncertain about the type of terrarium to set up, here is a table comparing open and closed terrariums.
| Open terrarium | Closed terrarium |
| Relatively easier to set up but requires frequent monitoring and maintenance. | More vulnerable to pests like gnats, mites, and mealybugs. |
| Requires regular watering as moisture keeps evaporating. | Rarely needs watering as it is a self-sustainable system that recycles moisture. |
| More susceptible to mold and fungal growth due to higher humidity and less airflow. | Has limited airflow thus increased humidity levels. |
| Suitable for plants that prefer drier conditions and good airflow. | Suitable for plants that thrive in humid conditions and limited airflow. |
| Less prone to mold and fungal problems due to less humidity and higher airflow. | Enclosed thus less vulnerable to insect pests. |
| More vulnerable to pests like gnats, mites and mealybugs. | More vulnerable to pests like gnats, mites, and mealybugs. |
Closed terrariums FAQs
How do closed terrariums get air?
During the day plants in the terrarium use sunlight, water, and carbon dioxide to produce glucose (energy) and release oxygen as a byproduct. At night, plants use oxygen for aerobic respiration, breaking down glucose into energy where carbon dioxide is the byproduct.
How long can a terrarium stay closed?
Under good care and maintenance, a closed terrarium can typically stay closed for an extended period of time, ranging from several months to even years. However, it is not possible to keep it sealed forever. You should occasionally open the lid to test the moisture level, and water and allow in the fresh air.
Why does my closed terrarium keep dying?
A closed terrarium might keep dying due to moisture imbalance, poor ventilation, inadequate lighting, poor plant selection, or as results of pests and diseases. Regular monitoring can help in identifying the exact underlying cause. Addressing the issues early enough and good care will definitely improve the health and longevity of the terrarium.
Final thought
Creating a closed terrarium is truly fun and a rewarding project. Choose the right plants and prepare your container as directed in this guide. Once you have fully set up the terrarium, place it in a well-lit area for display and monitor it as needed. But always remember, less is more for a terrarium.
Tim M Dave is a gardening expert with a passion for houseplants, particularly cacti and succulents. With a degree in plant biology from the University of California, Berkeley, he has vast experience in gardening. Over the years, he has cultivated a vast collection of desert plants and learned a great deal about how to grow and care for these unique companions.