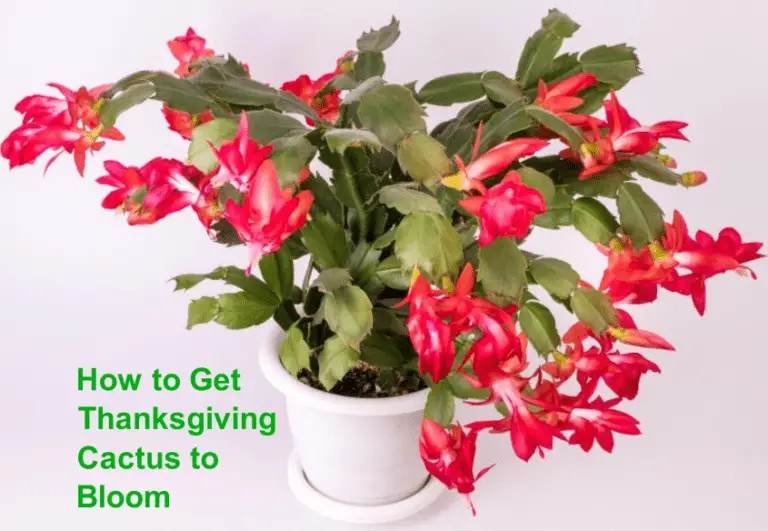
How to Repot Your Thanksgiving Cactus Like a Pro: Easy Guide for Beginners
I remember the first time I tried repotting my Thanksgiving cactus. I was nervous, worried I’d kill my beloved plant with its vibrant, festive blooms. But after a few successful repots, I’ve learned it’s easier than it seems—and it’s a game-changer for keeping your cactus healthy.
If your Thanksgiving cactus (Schlumbergera truncata) is looking cramped or the soil’s worn out, it’s time to give it a new home. Here’s my step-by-step guide on how to repot a Thanksgiving cactus with tips from my own experience to make the process stress-free and fun.

Why Repot Your Thanksgiving Cactus?
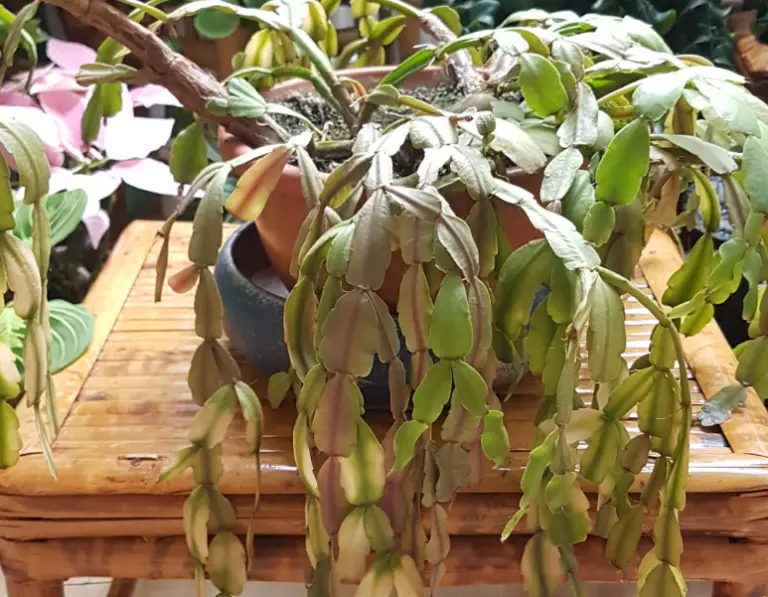
Thanksgiving cacti aren’t your typical desert cacti. These tropical beauties, native to Brazil’s rainforests, thrive with the right care. Repotting is key to their happiness. I noticed my cactus started looking droopy and stopped blooming when its pot became too small.
Repotting every 2-3 years refreshes the soil, gives roots room to grow, and prevents issues like root rot.
You might need to repot if:
- Roots are poking out of the drainage holes.
- The soil dries out too fast or stays soggy.
- Your cactus hasn’t been repotted in years.
Ready to give your plant a fresh start? Here’s how I do it.
Step 1: Choose the right time
Timing is everything. I made the mistake of repotting my cactus in fall, right before its blooming season, and it dropped all its buds. Lesson learned! The best time to repot is in spring, after the blooming period (late November to December).
Tip: In American homes, spring is ideal because indoor conditions are stable—not too hot or cold. If you’re in a region with harsh winters, like Minnesota, wait until March or April when your home’s heating isn’t blasting.
Step 2: Pick the perfect pot
I used to think any pot would do, but that’s not true for Thanksgiving cacti. These plants like to be slightly root-bound, so don’t go too big. Choose a pot 1-2 inches larger in diameter than the current one. I went from a 6-inch to an 8-inch pot for my mature cactus, and it’s thriving.
Must-Haves:
- Drainage holes: Essential to prevent root rot. I lost a cactus to a cute but drainage-free pot.
- Material: Terracotta or plastic works well. Terracotta dries faster, which is great in humid areas like Florida. Plastic retains moisture, ideal for drier climates like Arizona.
- Saucer: Keeps your surfaces clean, especially on wooden tables common in American homes.
Step 3: Get the right soil mix
Thanksgiving cacti hate heavy, soggy soil. I learned this after using regular potting soil and nearly drowning my plant. They need a well-draining mix that mimics their rainforest roots.
My Go-To Mix:
- 50% potting soil (peat-based works well).
- 25% perlite for drainage.
- 25% orchid bark or sand for aeration.
You can buy a pre-made cactus or succulent mix at most American garden centers, like Home Depot or Lowe’s. I tweak mine with extra perlite because my Chicago apartment gets humid. If you’re in a dry state like Nevada, add a bit more potting soil to retain some moisture.
Step 4: Gather your supplies
Before you start, have everything ready. I’ve scrambled mid-repot and made a mess! Here’s what you need:
- New pot with drainage holes.
- Well-draining soil mix.
- Trowel or a spoon for scooping soil.
- Gloves (optional, but the stems can be delicate).
- Watering can with a narrow spout.
- Newspaper or a tray to catch spills.
Step 5: Remove the cactus from its old pot
This part made me nervous at first, but it’s simple if you’re gentle. Water your cactus lightly a day before to make the roots more pliable. I lay down newspaper on my kitchen table to keep things tidy.
How to Do It:
- Tilt the pot and gently tap the sides to loosen the soil.
- Hold the base of the cactus (not the stems—they’re fragile!) and wiggle it out.
- If it’s stuck, run a butter knife around the inside of the pot to loosen the roots.
Once it’s out, shake off excess soil and inspect the roots. I was shocked to see how tangled mine were! Trim any dead or mushy roots with clean scissors, but don’t worry if they look a bit crowded—that’s normal.
Step 6: Prepare the new pot
Add a layer of your soil mix to the bottom of the new pot—about 1-2 inches deep. This gives the roots a soft landing. I also place a small piece of mesh or a coffee filter over the drainage holes to keep soil from escaping, a trick I picked up after sweeping soil off my floor too many times.
Step 7: Repot your cactus
Now for the fun part! Place your cactus in the center of the new pot. The base of the stems should sit just above the soil line. I hold mine in place with one hand while adding soil around the roots with the other.
Fill the pot, leaving about half an inch of space at the top for watering. Gently press the soil to secure the plant, but don’t pack it too tightly—those roots need air. I tap the pot on the table to help the soil settle naturally.
Step 8: Water and settle in
Water lightly after repotting to help the roots adjust. I use a watering can with a narrow spout to avoid soaking the stems. The soil should be moist but not soggy. Place your cactus in its usual spot with bright, indirect light. In my home, that’s an east-facing window with sheer curtains.
Pro Tip: Don’t fertilize right away. I made this mistake and stressed my plant. Wait 4-6 weeks to let it settle, then use a diluted 10-10-10 fertilizer monthly during spring and summer.
Step 9: Post-repotting care
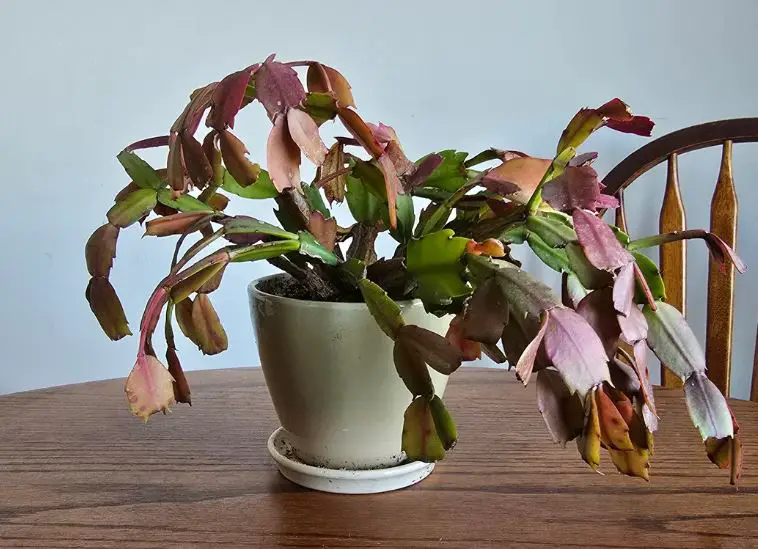
Your cactus might look sulky for a week or two—that’s normal. I panicked the first time mine drooped, but it bounced back. Keep these tips in mind:
- Maintain bright, indirect light. Avoid direct sun, which can scorch the segments.
- Water when the top inch of soil feels dry. In American homes with central heating, check weekly.
- These tropical plants love humidity. I use a pebble tray with water under the pot to keep things humid, especially in winter.
Common Repotting Mistakes to Avoid
I’ve made plenty of errors, so learn from me:
- Repotting in fall: It can disrupt blooming. Stick to spring.
- Using the wrong soil: Heavy garden soil is a no-go. Always use a well-draining mix.
- Overwatering: Too much water post-repotting can cause root rot. Be sparing at first.
- Choosing a huge pot: A pot too big can hold too much water, harming the roots.
Troubleshooting Tips
You may run into a few problems that are normal after repoting your Thanksgiving cactus.
- Drooping after repotting? It’s likely transplant shock. Keep care consistent, and it should recover in a week or two.
- Yellowing segments? Check for overwatering or poor drainage. Adjust your watering and ensure the pot has holes.
- No blooms next season? Repotting stress can delay blooming. Give it extra care with proper light and darkness (12-14 hours nightly) in fall.
Final thoughts
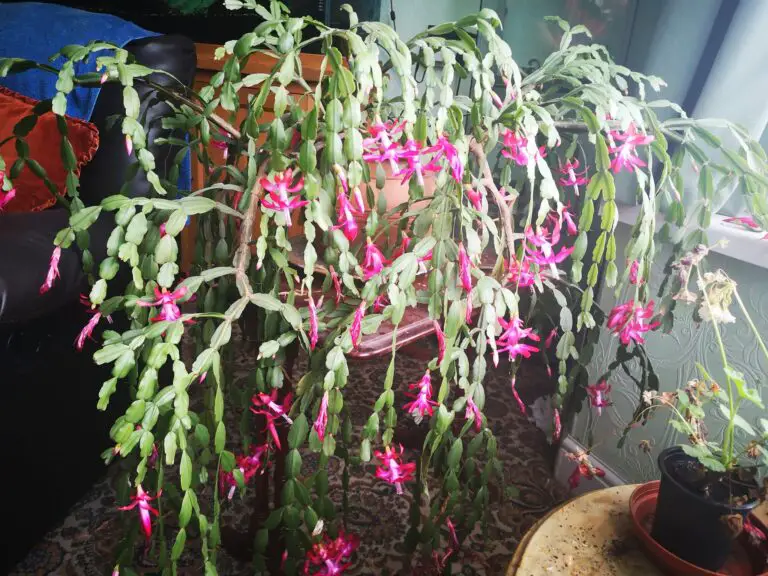
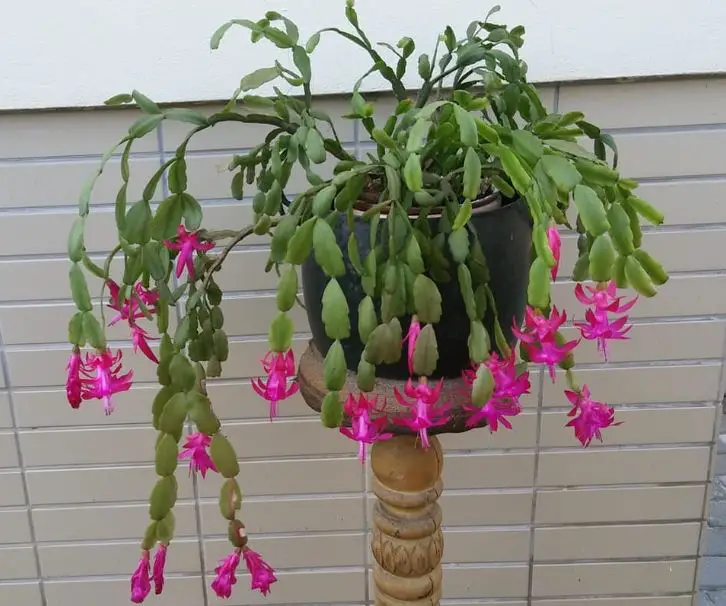
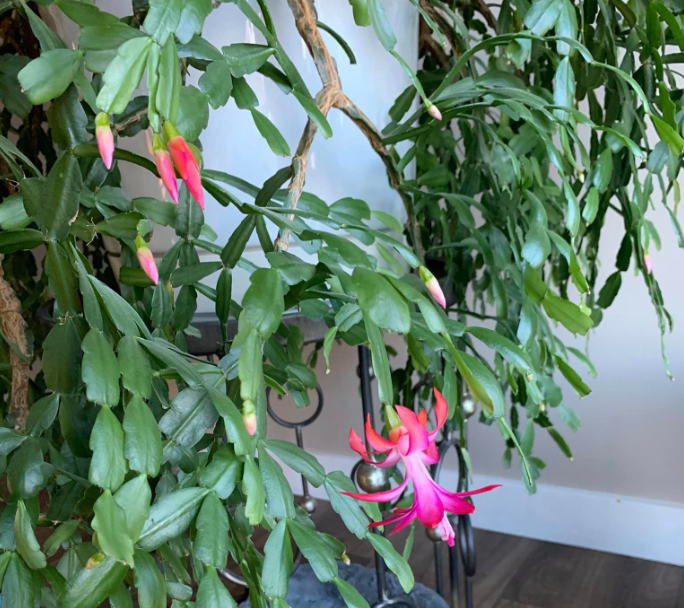
Repotting my Thanksgiving cactus felt like giving it a new lease on life. After my last repot, it bloomed like crazy, with bright pink flowers that stole the show at my Thanksgiving dinner. A healthy, blooming cactus adds that perfect festive touch. Plus, it’s satisfying to know you’re helping your plant thrive.
Tim M Dave is a gardening expert with a passion for houseplants, particularly cacti and succulents. With a degree in plant biology from the University of California, Berkeley, he has vast experience in gardening. Over the years, he has cultivated a vast collection of desert plants and learned a great deal about how to grow and care for these unique companions.