How to Transplant Hens and Chicks Safely: A Complete DIY Guide
Hens and Chicks (Sempervivum), commonly known as houseleek, are incredibly charming plants that are hardy and easy to grow. Their rosette-shaped foliage and low maintenance make them a favorite among gardeners.
Over time, hens and chicks produce offsets or “chicks” around the main plant. You can divide and transplant these offsets to create new plants to share or add to your collection. The separation also helps to maintain the health of the mother plant.
Transplanting hens and chicks is a straightforward process as long as you follow a few simple rules. In this article, I’ll provide you with all the important facts about this plant and clear instructions on how to transplant it safely and successfully.
Understanding hens and chicks
Before we dive into the transplanting process, let’s get to know hens and chicks plants a little better:
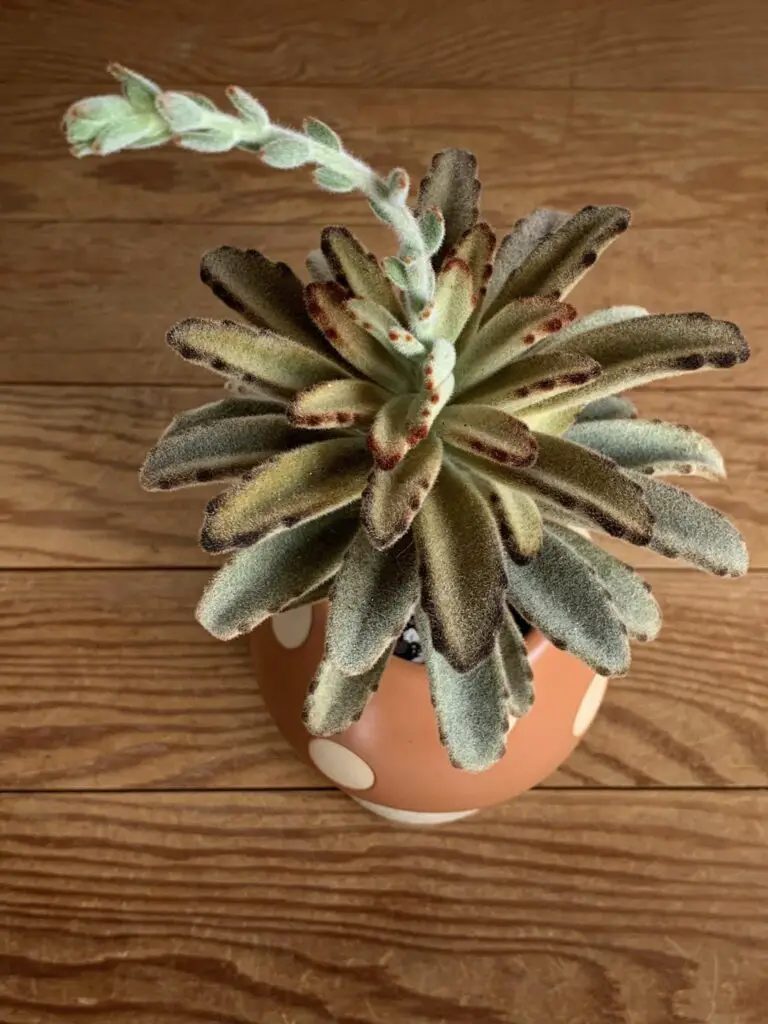
Hens and Chicks belong to the Sempervivum genus, which is part of the Crassulaceae family. They are appreciated for their rosette-shaped leaves. Foliage color can vary from green to red or even purple. Hens and chicks flowering happens only once during their entire lifetime.
These succulents are prolific propagators. Meaning, they produce many “chicks” or offsets around the “hen” (the main plant). Transplanting these offsets is the easiest way to get more plants to expand your collection or share with fellow gardeners.
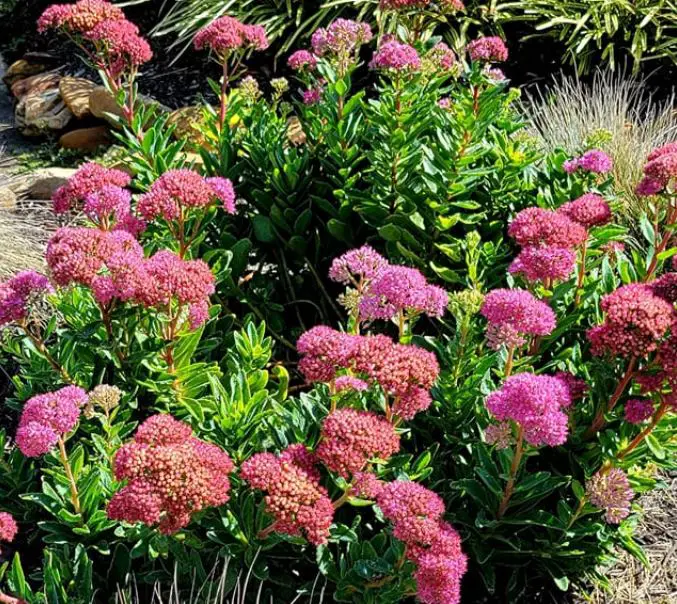
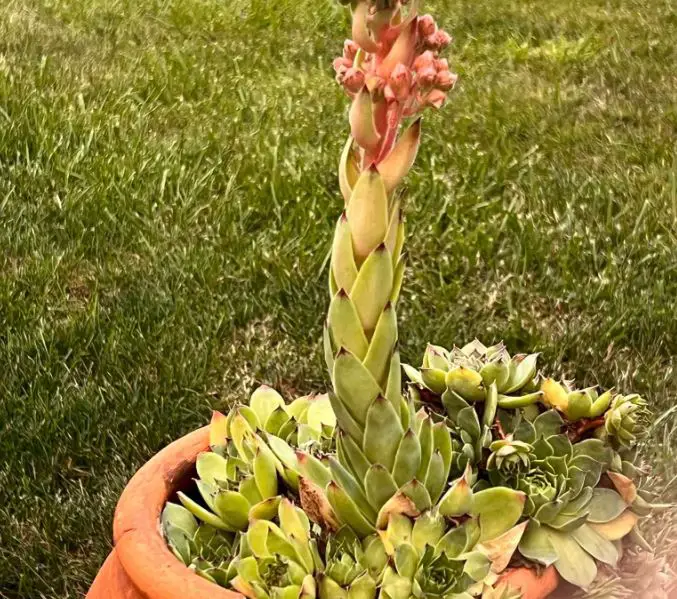
Hens and chicks plants growing tall tell that they are about to flower. They also produce seeds that can be used to propagate new plants. Unfortunately, the mother rosette dies once the blooming ends. It is a natural part of their life cycle, and nothing can stop the process.
How to transplant hens and chicks
The ideal time to transplant hens and chicks is during spring or early summer when they are actively growing. Avoid transplanting during the winter or extreme summer heat, as these conditions may stress the plants. The offsets MUST also have their own set of roots.
Before you begin the transplanting process, ensure you have the following:
- Healthy hens and chicks plants with offsets.
- Well-draining soil, such as succulent or cactus mix.
- Well-draining containers or garden beds.
- A trowel or small shovel for digging holes.
- Gloves to protect your hands from injuries.
To transplant your hens and chicks, follow these steps.
- Fill your container or garden bed with well-draining soil, leaving enough space for the plants.
- Gently remove the hens and chicks from their current container or garden bed.
- Carefully separate the offsets from the main plant. Ensure each offset has some roots attached.
- Dig small holes in the new container or garden bed and plant the offsets, leaving some space between them to allow for growth.
- Give the newly transplanted plants a thorough watering.
- Place your transplanted hens and chicks in a location that receives bright indirect light.
- Keep an eye on your plants as they establish in their new home.
Post-transplant care for hens and chicks
Here are essential post-transplant care guidelines for houseleek plants.
Watering
After transplanting, give the plants a thorough watering, but ensure that excess water drains away. Hens and chicks are susceptible to root rot if left in standing water. Allow the soil to dry out between waterings. This means water when the top inch of the soil feels dry.
The frequency of watering may depend on factors such as temperature, humidity, and the type of soil. In general, during the active growing season (spring and summer), you may need to water every 2-3 weeks. Reduce watering in fall and winter when the plants are semi-dormant.
Sunlight
Hens and chicks thrive in bright, indirect sunlight. Place them in a location that receives at least 6 hours of filtered sunlight per day. They can tolerate some direct morning sunlight but should be protected from harsh afternoon sun, especially in hot climates.
Fertilization
Hens and chicks are not heavy feeders. Fertilize sparingly during the growing season (spring and summer) with a diluted succulent or cactus fertilizer. Apply the fertilizer once every 4-6 weeks. Avoid fertilizing in the dormant winter months or when the plant looks stressed.
Winter care
Hens and chicks will slide into dormancy during the winter season. In cold outdoors, the plant may benefit from a layer of mulch or a frost cloth to protect it from freezing temperatures and excess moisture.
Reduce watering and avoid fertilizing during the winter. Here is a detailed winter care for Sempervivum.
Pests and Diseases
Pests aren’t a big threat to this plant, but monitor for aphids and mealybugs. They can distort the growth of your plants as they suck sap. If you notice any signs of infestations, treat them promptly with insecticidal soap or neem oil.
Proper care, including balanced watering, sufficient lighting, and good air circulation, can prevent fungal diseases like root rot. Give close attention to unhealthy hen and chick plants. Consult a nearby nursery if the health of your plants doesn’t seem to improve.
Final Thought
Transplanting hens and chicks plants is a rewarding process. With the right materials, there should be nothing stopping you from propagating more plants to share or add to your collection. Since you’ll be dealing with offsets, make sure they at least have some roots.
Providing good care is also important to the health and growth of your transplanted succulents. Make sure they receive proper watering, sufficient light, and regular inspection for pests and diseases. Maintain patience as it may take a few weeks for the plants to establish well in their new home.
Tim M Dave is a gardening expert with a passion for houseplants, particularly cacti and succulents. With a degree in plant biology from the University of California, Berkeley, he has vast experience in gardening. Over the years, he has cultivated a vast collection of desert plants and learned a great deal about how to grow and care for these unique companions.