4 Methods of Propagating Hibiscus + Success Tips
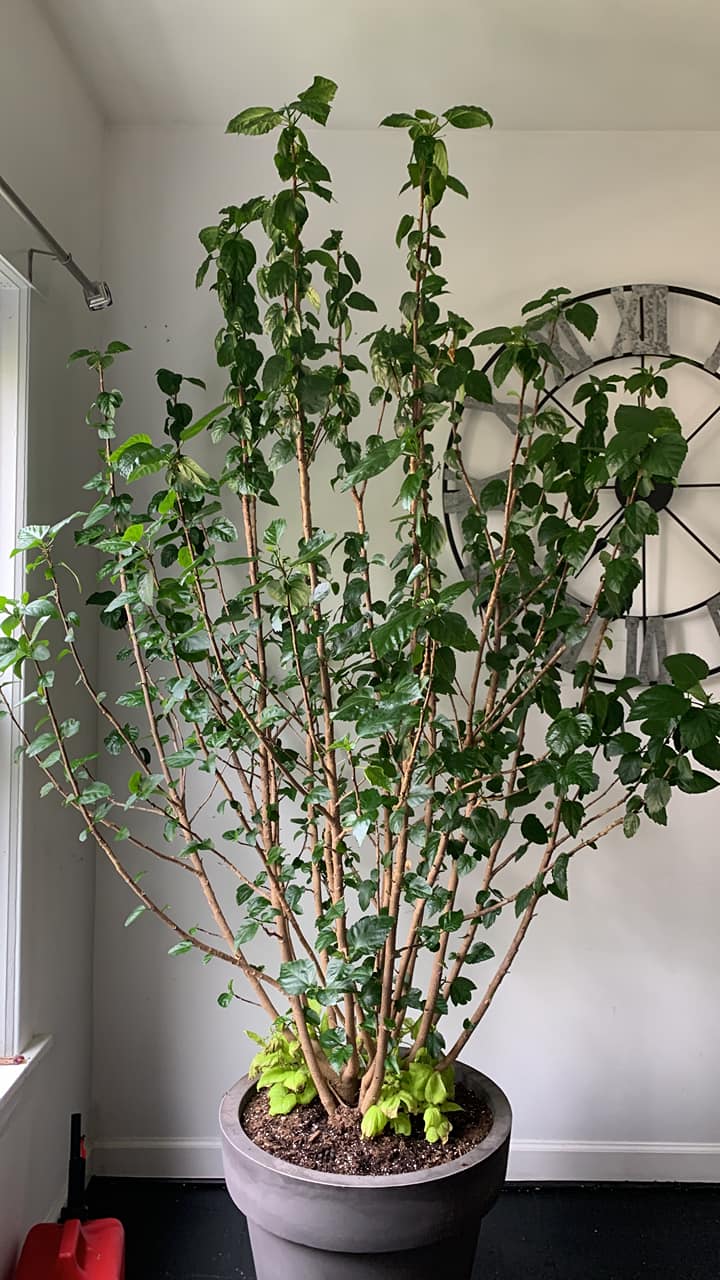
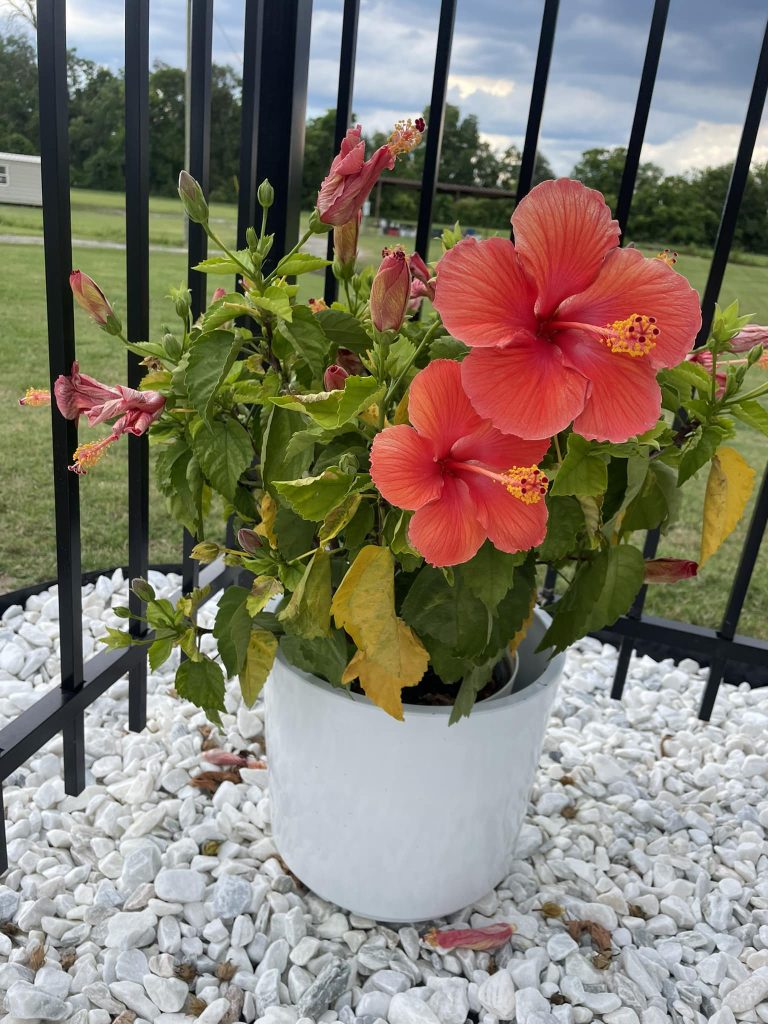
Hibiscus plants—whether the hardy Hibiscus moscheutos or the tropical Hibiscus rosa-sinensis—add a splash of color to gardens across the U.S. Propagating them lets you expand your collection without spending a fortune. Plus, it’s a fun way to share plants with friends or neighbors.
I still remember gifting a hibiscus cutting to my neighbor, who now has a thriving bush she proudly shows off. Propagation also ensures you can preserve a favorite plant’s traits, like a unique flower color or growth habit.
With the right techniques, you can create a garden full of these stunners. Let’s dive into propagation science.
How to Propagate Hibiscus
You can propagate hibiscus in several ways: stem cuttings, seeds, air layering, and division. Each method has its pros and cons, depending on your climate, time, and patience. Below, I’ll break down each method in detail, with step-by-step instructions for beginner gardeners.
Method 1: Propagating Hibiscus from Stem Cuttings
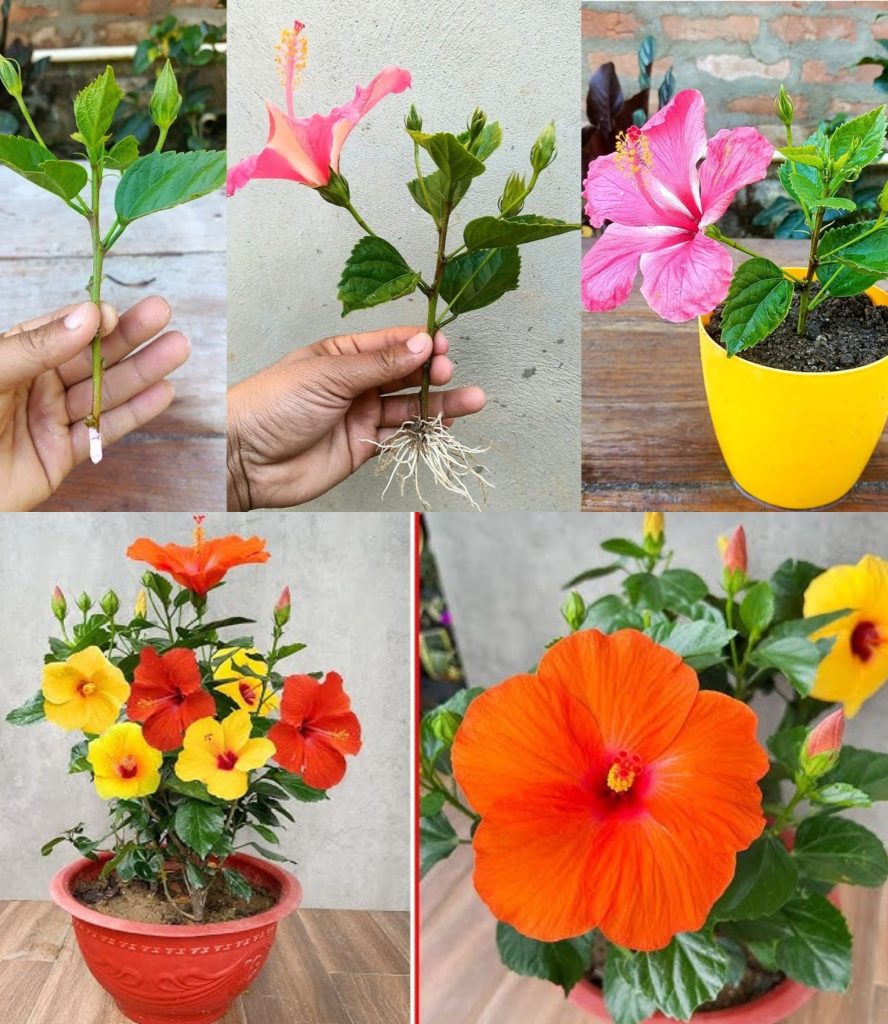
Stem cuttings are the most popular and reliable way to propagate hibiscus. I’ve had the best success with this method, especially for tropical hibiscus. It’s quick, and you can see results in just a few weeks.
Why choose stem cuttings?
- Fast results as roots form in 4-8 weeks.
- Clones the parent plant. You get identical flowers and traits.
- Works for both tropical and hardy hibiscus.
Best Time to Take Cuttings
In most American climates, spring or early summer is ideal. This gives the cuttings time to root before winter. In warmer zones (9-11), you can take cuttings year-round. I usually snip mine in May, when my hibiscus plants are pushing out new growth.
What You’ll Need
- Sharp, sterilized pruning shears
- A healthy hibiscus plant
- Rooting hormone (powder or gel)
- Small pots with drainage holes
- Potting mix (a blend of peat moss, perlite, and sand works well)
- Clear plastic bags or a propagation dome
- Spray bottle for misting
- A sunny windowsill or grow light
Steps for cuttings propagation
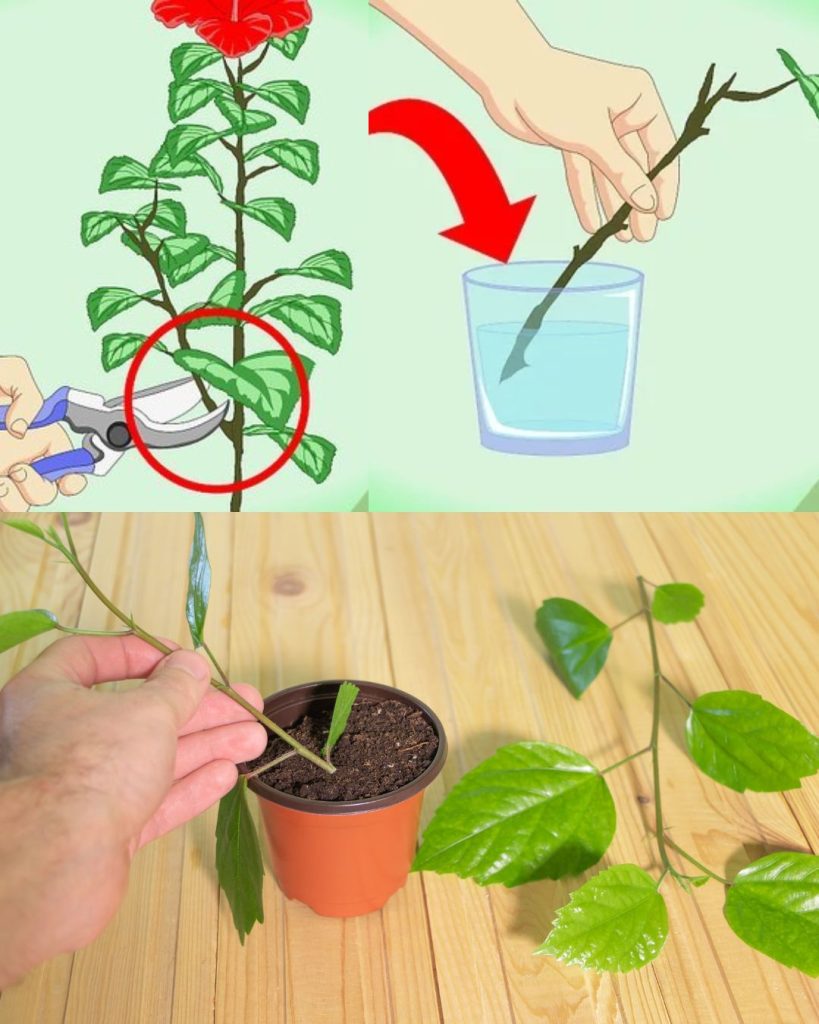
- Look for a 4-6 inch stem with 2-3 nodes (where leaves attach). It should be green, semi-woody, and free of flowers or buds. I always pick stems that look vigorous, not thin or spindly.
- Use sharp shears to make a clean, angled cut just below a node. I sterilize my shears with rubbing alcohol to avoid spreading disease.
- Remove leaves from the bottom half of the stem. Leave 2-3 leaves at the top to help with photosynthesis. If the leaves are large, cut them in half to reduce water loss.
- Dip the cut end in rooting hormone powder or gel. This boosts root growth and prevents rot. I’ve used both powder and gel, and honestly, either works fine.
- Fill a small pot with a well-draining potting mix. Make a hole with a pencil and insert the cutting about 1-2 inches deep. Firm the soil around it.
- Cover the pot with a clear plastic bag or place it in a propagation dome to trap humidity. This mimics the warm, moist conditions hibiscus love. I poke a few holes in the bag for air circulation.
- Water the cutting lightly and place it in bright, indirect light. A south-facing windowsill works great, but avoid direct sun, which can scorch the cutting. If you’re in a cooler region, a grow light helps.
- Keep the soil moist but not soggy. Mist the leaves daily to prevent drying out. I check mine every morning with a quick spritz.
- After 4-6 weeks, gently tug the cutting. If it resists, roots are forming. You can also check for white roots at the pot’s drainage holes.
- Once roots are 1-2 inches long, move the cutting to a larger pot or your garden (if frost danger has passed). I usually wait until the roots are well-established before transplanting.
Tips for Success
- In humid regions like the Southeast, you may not need a plastic cover if you mist regularly.
- In dry areas like the Southwest, keep the cuttings in a shaded spot to prevent drying out.
- Hardy hibiscus cuttings root slightly slower than tropical ones, so be patient.
Method 2: Propagating Hibiscus from Seeds
Growing hibiscus from seeds is less common but exciting if you want to experiment with new varieties. I tried this with hardy hibiscus seeds I collected from my garden, and while it takes longer, the results were worth it.
Why Choose Seeds?
- Seeds may produce flowers different from the parent.
- Great for gardeners who love experimenting with new ideas.
- Best for hardy hibiscus or rose of Sharon, as tropical hibiscus seeds are harder to come by.
Best Time to Plant Seeds
Sow seeds in late winter or early spring (February-March) indoors. This gives seedlings time to grow before transplanting outside after the last frost.
What You’ll Need
- Hibiscus seeds (collect from pods or buy from a reputable nursery)
- Seed trays or small pots
- Seed-starting mix
- Plastic wrap or a seed tray cover
- Grow lights or a sunny windowsill
- Watering can with a fine spout
Step for Seed Propagation
- Collect or Buy Seeds.If collecting, wait until the seed pods turn brown and dry. I found mine on my rose of Sharon in late fall. Store them in a cool, dry place until planting.
- Hibiscus seeds have a hard coat. Gently nick or sand the seed coat with sandpaper to help germination. I use a nail file for this—it’s quick and easy.
- Place seeds in warm water for 12-24 hours to soften the coat further.
- Fill seed trays with a seed-starting mix. It should be light and well-draining.
- Sow seeds ¼ inch deep and cover lightly with soil. Space them about 1 inch apart.
- Cover the tray with plastic wrap or a clear lid to retain moisture. Place in a warm spot (70-75°F).
- Keep the soil moist but not waterlogged. Seeds typically germinate in 2-4 weeks.
- Once seedlings emerge, remove the cover and move them to bright light. A grow light works wonders in cloudy regions like the Pacific Northwest.
- When seedlings have 2-3 true leaves, transplant them to individual pots. Harden them off for 7-10 days before moving to the garden.
Tips for Success
- Seedlings take 1-2 years to bloom, so patience is key.
- In colder zones (5-6), start seeds indoors early to maximize growing time.
- Check seed packets for specific germination rates, as some hybrids may be less reliable.
Method 3: Propagating Hibiscus by Air Layering
Air layering is a bit more advanced but great for propagating large hibiscus plants. In this method, you don’t need to cut down your plant. I used this method on my tropical hibiscus when I wanted a new plant but didn’t want to sacrifice a branch.
Why Choose Air Layering?
- Works on mature plants, although ideal for shrubs like the rose of Sharon.
- Produces a rooted plant faster than seeds.
- Less stressful for the parent plant.
Best Time for Air Layering: Spring or early summer, when the plant is actively growing.
What You’ll Need
- Sharp knife or pruning shears
- Sphagnum moss
- Rooting hormone
- Plastic wrap
- Aluminum foil
- Twist ties or string
- Spray bottle
Steps for Air Layering
- Choose a healthy, pencil-thick branch that’s flexible but not too woody.
- About 12 inches from the tip, make a 1-inch upward cut through the bark, removing a small strip. I use a sharp knife and sterilize it first.
- Dust the cut area with rooting hormone to encourage root growth.
- Soak sphagnum moss in water, squeeze it out, and wrap it around the cut. It should be a thick, moist ball.
- Wrap the moss tightly with plastic wrap to hold moisture. Seal the ends with twist ties.
- Wrap aluminum foil around the plastic to block light and prevent algae growth.
- After 6-8 weeks, check for roots by gently unwrapping the plastic. Roots should be white and firm.
- Once roots are 1-2 inches long, cut the branch below the root ball and plant it in a pot or directly in the garden.
Tips for Success
- Keep the moss moist by misting it if it dries out.
- This method works best in humid climates like the Southeast but can be adapted for drier areas with extra care.
Method 4: Propagating Hibiscus by Division
Division is best for hardy hibiscus or rose of Sharon that have formed clumps. I divided my Hibiscus moscheutos last spring, and now I have three thriving plants instead of one.
Why Choose Division?
- You get a mature plant right away.
- Great for rejuvenating old clumps.
- Best for hardy hibiscus in zones 5-9.
Best Time for Division: Early spring, just as new growth appears, or fall after flowering.
What You’ll Need
- Shovel or garden fork
- Sharp knife
- Compost or organic matter
- Watering can
Steps for Division
- Carefully dig around the hibiscus, keeping the root ball intact. I use a garden fork to avoid damaging roots.
- Gently pull or cut the clump into smaller sections, ensuring each has roots and shoots. A sharp knife helps with tough roots.
- Plant each division at the same depth as the original plant, spacing them 2-3 feet apart. Add compost to the soil for nutrients.
- Water thoroughly to settle the soil and reduce transplant shock.
Tips for Success
- Divide on a cool, overcast day to reduce stress on the plant.
- In hot regions like Texas, water daily for the first week after division.

Caring for Newly Propagated Hibiscus
Once your hibiscus is propagated, it needs proper care to thrive. Here’s how to keep your new plants healthy.
Light requirements: Hibiscus loves full sun—6-8 hours daily. In hotter regions like Arizona, provide afternoon shade to prevent leaf burn. I noticed my tropical hibiscus drooped in direct midday sun, so I moved it to a spot with filtered light.
Soil needs:Use well-draining soil with a pH of 6.0-7.0. Mix in compost or peat moss for nutrients. In clay-heavy soils (common in the Midwest), add sand or perlite to improve drainage.
Watering: Keep the soil consistently moist but not waterlogged. Tropical hibiscus needs more frequent watering than hardy types. I water mine every 2-3 days in summer, less in cooler weather.
Fertilizing: Feed with a balanced fertilizer (10-10-10) every 4-6 weeks during the growing season. I use a liquid fertilizer for my potted hibiscus, which gives them a quick boost.
Winter Care
- Tropical Hibiscus: In zones 8 and below, bring potted plants indoors before the first frost. Place them in a sunny window or under grow lights. I keep mine in my living room, and they bloom all winter.
- Hardy Hibiscus: Cut back dead stems in late fall and mulch heavily in zones 5-6 to protect roots from freezing.
- Rose of Sharon: These are low-maintenance and usually survive winter without extra care in zones 5-8.
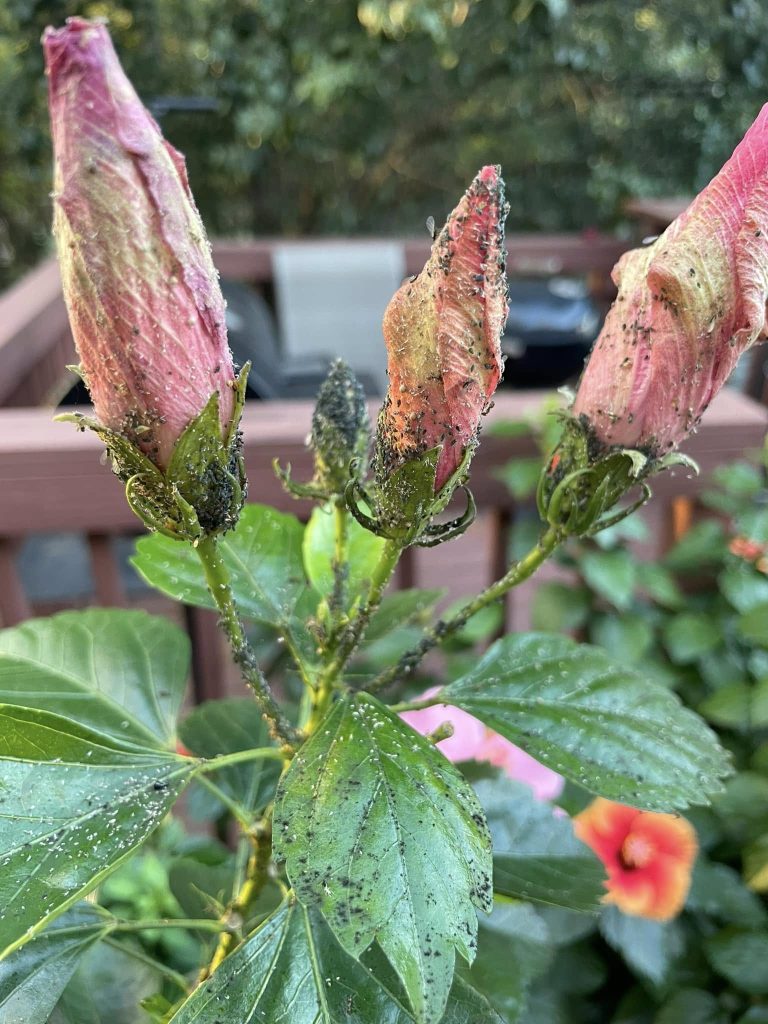
Pest and Disease Control: Watch for aphids, spider mites, and whiteflies, especially on tropical hibiscus. I spray mine with neem oil if I spot pests. Root rot can occur in poorly drained soil, so ensure proper drainage.
Common Mistakes to Avoid
I’ve made my share of propagation blunders. Here are pitfalls to steer clear of:
- Overwatering: Soggy soil leads to root rot. Check soil moisture before watering.
- Poor timing: Taking cuttings in late fall or winter often fails, as plants are dormant.
- Skipping sterilization: Dirty tools can spread disease. Always sterilize your shears.
- Ignoring climate: Tropical hibiscus won’t survive outdoors in cold zones without protection.
- Neglecting humidity: Cuttings need high humidity to root. Use a plastic cover or mist regularly.
Troubleshooting Propagation Problems
- Cuttings wilting: This is commonly a problem of underwatering or low humidity. To fix, increase humidity with a plastic cover and mist more often.
- No roots forming: This can happen as a result of poor growth conditions, such as light, temperature, and moisture. Check that the cutting is in bright, indirect light and the soil is moist. Reapply rooting hormone if needed.
- Seedlings not germinating: This is often a problem of poor seed preparation or wrong weather conditions. Ensure the seeds are scarified and kept warm.
- Yellowing leaves: This could be overwatering or nutrient deficiency. Adjust watering and fertilize lightly.
Suggested For You:
6 Reasons Hibiscus Leaves are Curling + How to Fix Fast
Rose of Sharon Cultivation: Your Guide to Growing This Stunning Flowering Shrub
10 Reasons Your Hibiscus is Not Blooming + How to Fix
10 Common Hibiscus Problems: Identification + Troubleshooting Tips
Battling Aphid Problem on Hibiscus in Colorado: Your Ultimate Guide to Saving Your Blooms
Final thought
Propagating hibiscus is a fantastic way to fill your garden with stunning blooms. Whether you choose stem cuttings, seeds, air layering, or division, each method offers a chance to grow your garden and share the love of hibiscus. I hope this guide inspires you to try propagating hibiscus and experience the thrill of growing your own plants. Happy gardening!
References
- Missouri Botanical Garden. “Hibiscus moscheutos.” http://www.missouribotanicalgarden.org/PlantFinder/PlantFinderDetails.aspx?kempercode=c337
- Clemson Cooperative Extension. “Hibiscus.” https://hgic.clemson.edu/factsheet/hibiscus/
- Texas A&M AgriLife Extension. “Growing Hibiscus in Texas.”
Tim M Dave is a gardening expert with a passion for houseplants, particularly cacti and succulents. With a degree in plant biology from the University of California, Berkeley, he has vast experience in gardening. Over the years, he has cultivated a vast collection of desert plants and learned a great deal about how to grow and care for these unique companions.