4 Methods of Propagating Hydrangeas + Their Success Rate
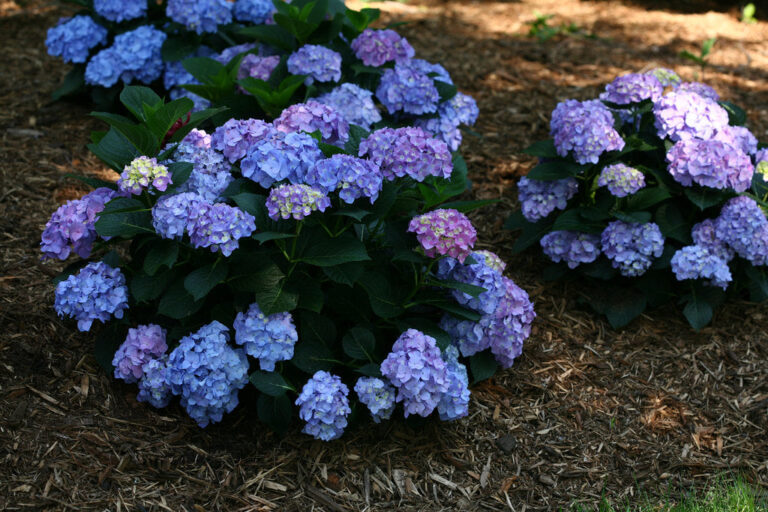
Propagating hydrangeas means creating new plants from existing ones. It’s a way of saving money and letting you share your favorite varieties with friends. I’ve propagated dozens of hydrangeas to fill my garden and even gifted a few to my neighbors.
The process is fun, rewarding, and easier than you might think. Plus, it’s a great way to preserve heirloom varieties or expand your collection without spending a fortune.
You can propagate hydrangeas in several ways: stem cuttings, layering, division, or (rarely) seeds. Each method has its pros and cons. I’ll walk you through them all, focusing on what works best for most gardeners.
When to Propagate Hydrangeas
Timing is critical for successful propagation. In most U.S. climates, late spring to early summer (May to July) is ideal for taking cuttings or layering. This is when hydrangeas produce soft, new growth that roots easily. In warmer regions like the Southeast, you can extend this to early fall.
In colder areas like the Northeast, stick to early summer to give roots time to establish before winter. I learned this the hard way when I tried taking cuttings in late fall; most didn’t survive the cold. Aim for warm, stable weather to give your new plants the best start.
Methods of Propagating Hydrangeas
Let’s explore the four main ways to propagate hydrangeas. I’ll share step-by-step instructions and tips from my experience.
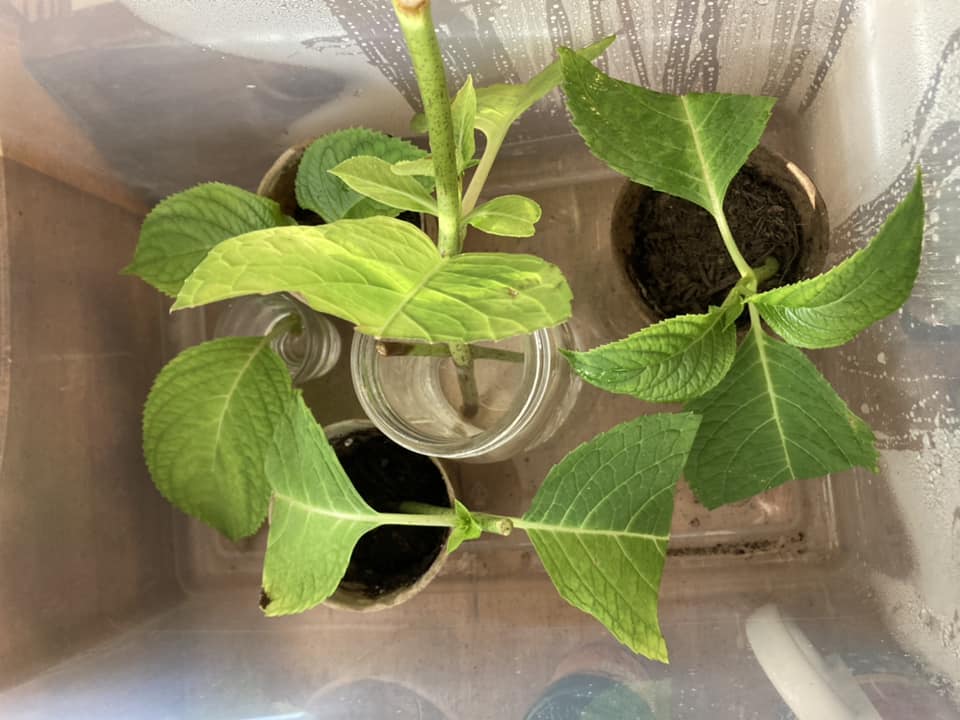
1. Propagating Hydrangeas from Stem Cuttings
This is the most common and reliable method. I’ve propagated dozens of ‘Endless Summer’ bigleaf hydrangeas this way, and it’s my go-to technique.
What You’ll Need
- Sharp, clean pruning shears
- A healthy hydrangea plant
- Rooting hormone (optional but helpful)
- Small pots with drainage holes
- Potting mix (mix of peat moss, perlite, or sand)
- Plastic bags or a propagation dome
- Watering can or spray bottle
Steps
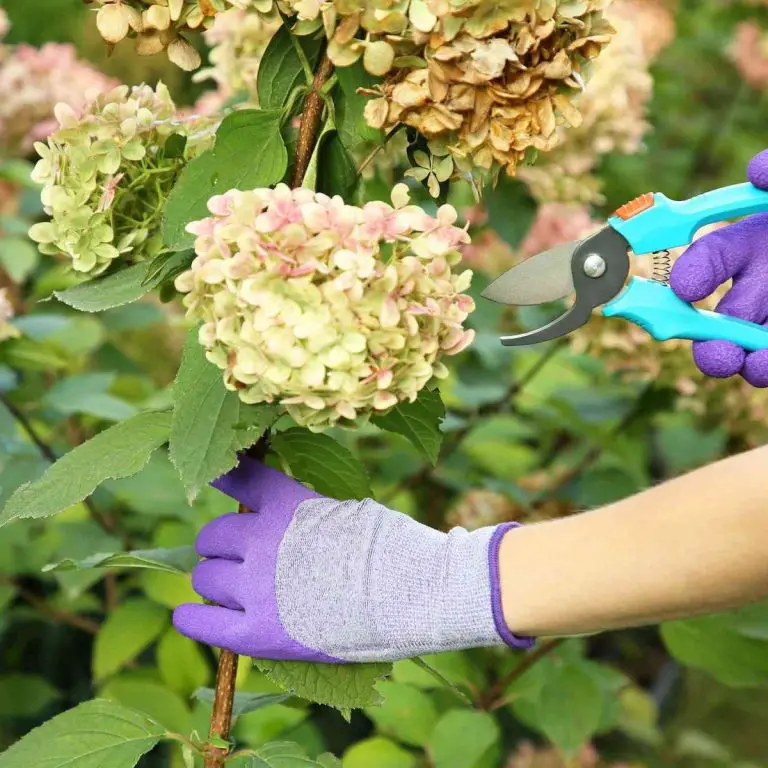
- Select a healthy, non-flowering stem with 2-3 sets of leaves. Look for soft, green growth from the current season (not woody stems). I usually cut stems about 4-6 inches long.
- In the morning, when the plant is hydrated, cut just below a leaf node (where leaves attach to the stem). Use clean shears to avoid disease.
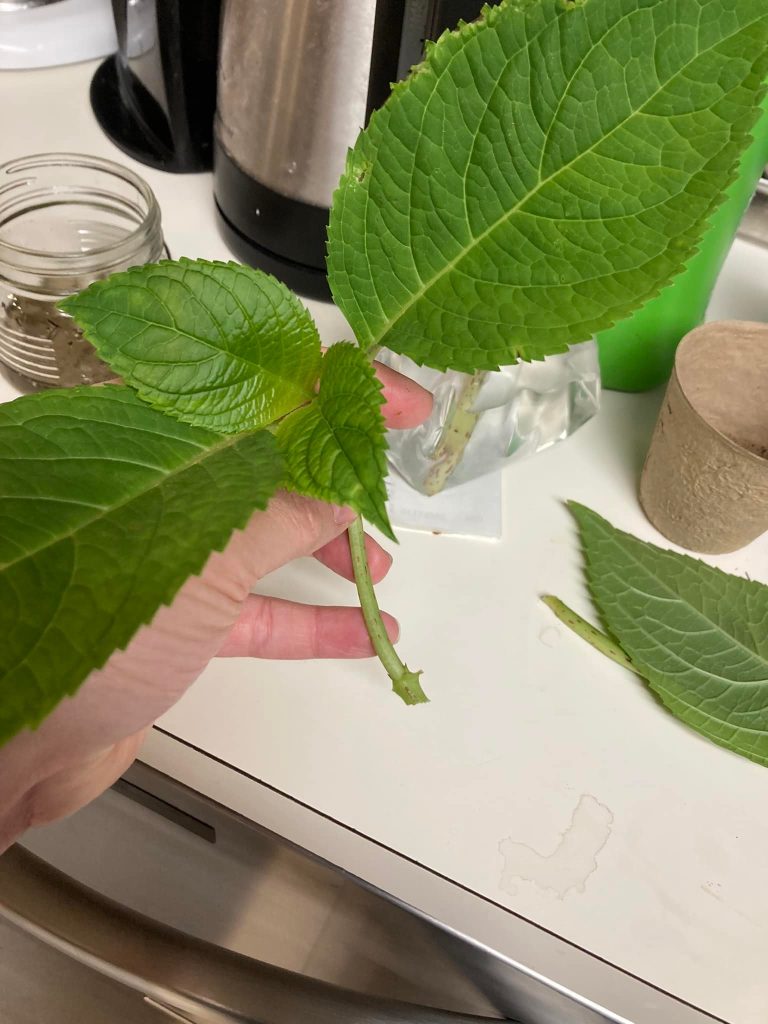
- Remove the lower leaves, leaving 1-2 sets at the top. Cut large leaves in half to reduce moisture loss. I made the mistake of leaving too many leaves once, and the cutting wilted fast.
- Dip the cut end in rooting hormone powder or gel to encourage root growth. This step isn’t mandatory, but it boosted my success rate by 30%.
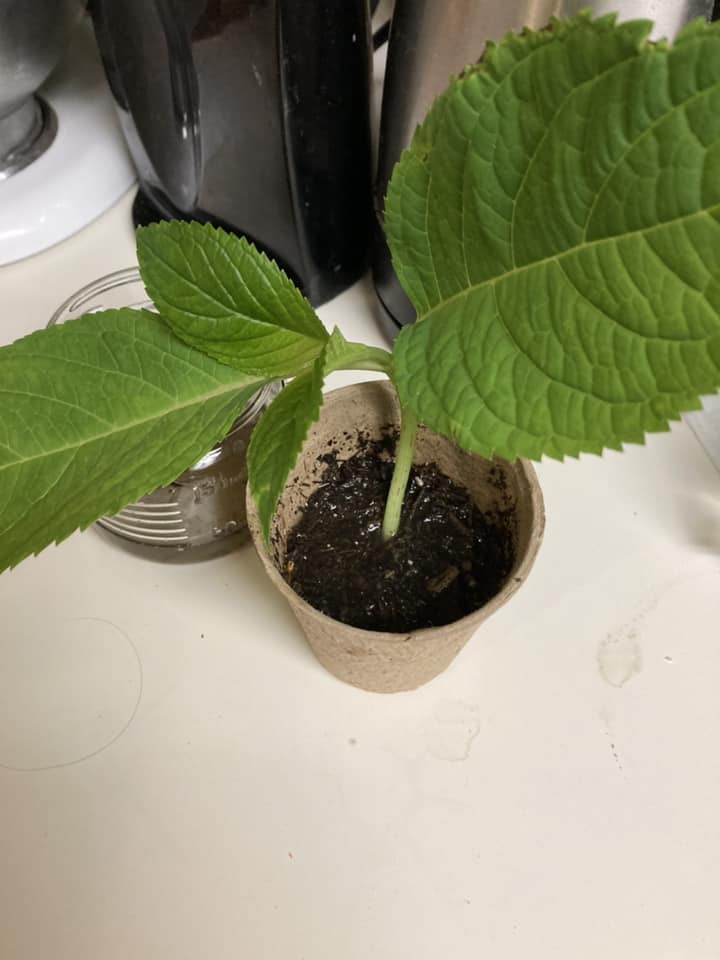
- Fill a pot with moist potting mix. Make a hole with a pencil and insert the cutting, ensuring at least one node is buried. Gently firm the soil around it.
- Cover the pot with a plastic bag or propagation dome to trap moisture. Place it in bright, indirect light (not direct sun). I use a sunny windowsill in my garage.
- Keep the soil moist but not soggy. Roots typically form in 4-6 weeks. Tug gently on the cutting—if it resists, roots are forming.
- Once roots are 1-2 inches long (check by gently lifting), move the cutting to a larger pot or your garden. Harden off by gradually exposing it to outdoor conditions over a week.
Success rate: About 70-80% with proper care.
Time to roots: 4-6 weeks.
Time to bloom: 1-2 years after transplanting.
Regional Tip: In humid areas like the Southeast, skip the plastic bag to avoid mold. In dry regions like the Southwest, mist cuttings daily to maintain humidity.
2. Propagating Hydrangeas by Layering
Layering is perfect for beginners because the new plant stays attached to the parent until it roots. I used this method to propagate my oakleaf hydrangea, and it worked like a charm.
What You’ll Need
- A low-growing hydrangea branch
- A small rock or garden staple
- Potting soil or compost
- Pruning shears
- Watering can
Steps
- Choose a flexible, low-growing branch that touches the ground. It should be healthy and from the current season’s growth.
- Remove leaves from a 6-inch section where the branch will touch the soil. Lightly scrape the bark on the underside to encourage rooting.
- Dig a shallow trench (2-3 inches deep) where the branch touches the ground. Bury the scraped section, leaving the tip exposed. Secure it with a rock or garden staple.
- Keep the buried section moist by watering regularly. I water mine every few days in summer.
- Roots form in 6-12 weeks. Check by gently digging around the buried section.
- Once roots are established, cut the branch from the parent plant and transplant it to a pot or garden bed.
Success rate: 80-90%.
Time to roots: 6-12 weeks.
Time to bloom: 1-3 years.
Regional Tip: In colder climates (Zones 3-5), layer in early summer to ensure roots form before winter. In warmer areas, you can layer year-round if temperatures stay above 50°F.
3. Propagating Hydrangeas by Division
Division works well for mature smooth or oakleaf hydrangeas with multiple stems. I divided my ‘Annabelle’ hydrangea to create two plants, and both thrived.
What You’ll Need
- A mature hydrangea plant
- A sharp spade or shovel
- Garden gloves
- Watering can
Steps
- Divide in early spring or fall when the plant is dormant. Avoid hot summer months.
- Carefully dig around the hydrangea, keeping the root ball intact. I use a spade to avoid damaging roots.
- Use a sharp spade or knife to divide the root ball into sections, each with stems and roots. Ensure each section has at least 2-3 shoots.
- Plant each section in a prepared hole with well-draining soil. Water thoroughly and mulch to retain moisture.
- Water regularly for the first year to help roots establish.
Success rate: 90% if done carefully.
Time to establish: 4-6 weeks.
Time to bloom: 1-2 years.
Regional Tip: In the Midwest, divide in spring to avoid winter stress. In the Southeast, fall division works well due to mild winters.
4. Propagating Hydrangeas from Seeds
Growing hydrangeas from seeds is rare because it’s slow and unpredictable. I tried it once out of curiosity, but the results were inconsistent. It’s best for patient gardeners or those experimenting with hybridizing.
What You’ll Need
- Hydrangea seeds (from a reputable supplier)
- Seed trays
- Seed-starting mix
- Plastic wrap
- Grow lights (optional)
Steps
- Harvest seeds from dried flower heads or buy from a trusted source. Seeds are tiny, so handle them carefully.
- Fill seed trays with moist seed-starting mix. Sprinkle seeds lightly on the surface—don’t bury them.
- Cover trays with plastic wrap to retain humidity. Place in a warm spot (70-75°F) with indirect light.
- Seeds take 2-4 weeks to sprout. Keep soil moist but not waterlogged.
- Once seedlings have 2-3 true leaves, move them to small pots. Grow indoors or in a greenhouse for the first year.
- After 1-2 years, transplant seedlings to your garden.
Success rate: 20-50% due to low germination rates.
Time to germinate: 2-4 weeks.
Time to bloom: 4-5 years.
Regional Tip: Seed propagation is challenging in areas with short growing seasons (like the Northeast). Use grow lights to extend the season.
Best Practices for Propagation Success
Here are tips I’ve learned to boost your chances of success:
- Use healthy parent plants: Choose vigorous, disease-free hydrangeas. Weak plants produce weak cuttings.
- Sterilize tools: Clean shears with rubbing alcohol to prevent disease spread.
- Maintain humidity: Cuttings need high humidity to root. A propagation dome or plastic bag works wonders.
- Monitor watering: Overwatering causes rot; underwatering kills cuttings. Aim for consistently moist soil.
- Be patient: Propagation takes time. My first cuttings took 8 weeks to root, but the wait was worth it when I saw those new plants thrive.
Caring for Newly Propagated Hydrangeas
Once your hydrangeas root, they need extra care to grow strong:
- Keep soil moist but not soggy. Water 1-2 times per week, more in hot climates like Texas.
- Provide bright, indirect light for cuttings and young plants. Gradually introduce them to morning sun.
- Wait 6-8 weeks before fertilizing. Use a diluted, balanced fertilizer (10-10-10) to avoid burning roots.
- Move rooted cuttings to the garden in spring or fall. Choose a spot with well-draining soil and partial shade for most varieties.
- In colder zones (3-5), mulch heavily or cover young plants with burlap to protect from frost.
Common Propagation Challenges and Solutions
When I started propagating hydrangeas, I was nervous. My first attempt was with a ‘Limelight’ panicle hydrangea cutting. I followed the steps, used rooting hormone, and waited anxiously. Six weeks later, I saw tiny roots peeking out of the potting mix—it was thrilling!
Since then, I’ve propagated over 20 plants, filling my garden and sharing extras with friends. My biggest lesson? Don’t rush the process. Propagation isn’t always smooth sailing. Here are issues I’ve faced and how to fix them:
- Cuttings wilting: Often due to low humidity or overwatering. Increase humidity with a plastic bag and check soil moisture.
- No roots forming: Could be due to old stems or low temperatures. Use soft, new growth and keep cuttings at 70-75°F.
- Mold or fungus: High humidity can cause mold. Ensure good air circulation and avoid overwatering.
- Slow growth: Young plants may grow slowly if they lack nutrients or light. Fertilize lightly and ensure 4-6 hours of indirect light.
Frequently Asked Questions (FAQs)
Q: What’s the easiest way to propagate hydrangeas?
A: Stem cuttings are the easiest and most reliable method, with a 70-80% success rate.
Q: Can I propagate hydrangeas in water?
A: Yes, but it’s less reliable. Place cuttings in water and change it every few days. Transplant to soil once roots form (2-4 weeks).
Q: How long does it take for hydrangea cuttings to root?
A: Cuttings typically root in 4-6 weeks under ideal conditions (moist soil, high humidity, 70-75°F).
Q: Do I need rooting hormone to propagate hydrangeas?
A: No, but it increases success rates by encouraging faster root growth.
Q: Can I propagate hydrangeas in fall or winter?
A: Spring or early summer is best. Fall propagation is possible in warm climates (Zones 8-9), but winter is risky due to cold.
Q: Why are my hydrangea cuttings dying?
A: Common reasons include overwatering, low humidity, or using old stems. Use new growth, keep soil moist, and maintain humidity.
Suggested For You:
Beginners Guide: How Long Does Hydrangea Take to Grow?
The 6 Main Types of Hydrangeas Grown in U.S. Gardens: Features and Care Details
Fall or Spring? When to Cut Back Hydrangeas
Top Answer: Do You Deadhead Hydrangeas?
The Ultimate Guide: Using Organic Mulch for Hydrangeas
Final thoughts
Propagating hydrangeas is a rewarding way to expand your garden and share these stunning plants with others. Whether you choose stem cuttings, layering, division, or seeds, success comes down to timing, care, and patience.
In my garden, propagation has transformed my yard into a hydrangea paradise without breaking the bank. With the right techniques and regional adjustments, you can do the same. So, grab your shears, pick a healthy hydrangea, and start propagating—your dream garden is just a cutting away!
References
- University of Georgia Extension. (2020). Growing Hydrangeas in the Home Garden. https://extension.uga.edu/publications/detail.html?number=B1311
- Missouri Botanical Garden. (n.d.). Hydrangea Propagation. https://www.missouribotanicalgarden.org/plant-care/hydrangea-care
- American Horticultural Society. (2019). Propagating Hydrangeas. https://www.ahs.org/gardening-resources/plant-care-guides/hydrangeas
Tim M Dave is a gardening expert with a passion for houseplants, particularly cacti and succulents. With a degree in plant biology from the University of California, Berkeley, he has vast experience in gardening. Over the years, he has cultivated a vast collection of desert plants and learned a great deal about how to grow and care for these unique companions.