The Ultimate Guide: Using Organic Mulch for Hydrangeas
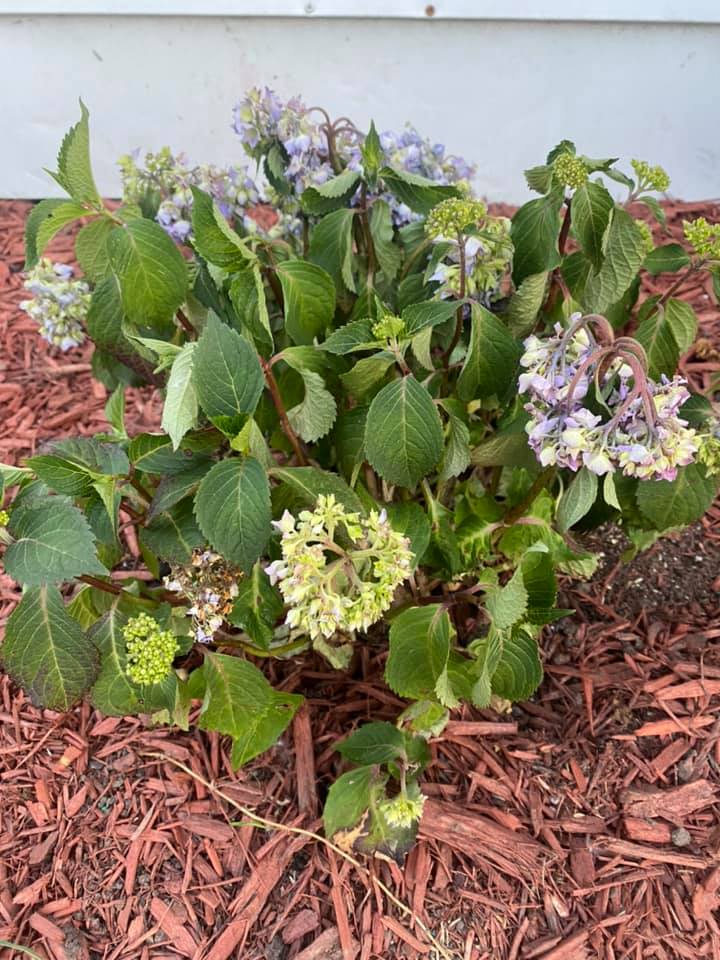
I’ve always loved hydrangeas. Their big, colorful blooms transform my garden into a vibrant masterpiece every summer. But keeping them healthy in the ever-changing American climate? That’s a challenge. Use organic mulch—a game-changer for hydrangea care.
Mulch isn’t just a pretty topping; it’s a lifeline for your plants. It conserves moisture, regulates soil temperature, and enriches the soil naturally. Unlike synthetic mulches, organic options break down over time, adding nutrients to the soil.
In this guide, I’ll walk you through everything you need to know about using organic mulch for hydrangeas. From choosing the right mulch to applying it like a pro.
The Best Organic Mulch Types for Hydrangeas
Not all mulches are created equal. Hydrangeas have specific needs, like slightly acidic soil and consistent moisture. Here are the top organic mulch options for your hydrangeas, along with their pros and cons:
1. Shredded Bark or Wood Chips
Shredded bark, often from pine or hardwood, is my go-to mulch. It’s widely available, affordable, and looks fantastic around hydrangeas. This type of mulch is best for gardens in the Northeast, Midwest, and Pacific Northwest, where moisture retention is key.
Pros
- Retains moisture well.
- Breaks down slowly, adding organic matter over time.
- Pine bark slightly acidifies soil, perfect for blue hydrangeas.
- Available in most garden centers across the U.S.
Cons
- Can compact over time, reducing aeration.
- Hardwood mulch may temporarily tie up nitrogen as it decomposes.
Pro Tip: I use pine bark mulch for my blue hydrangeas. It helps maintain the acidic soil they crave, and the color pops against the blooms.
2. Compost
Compost is like a superfood for hydrangeas. It’s rich in nutrients and improves soil structure as it breaks down. This much is best for organic gardeners in any U.S. region, especially those with nutrient-poor soils.
Pros:
- Boosts soil fertility instantly.
- Enhances microbial activity, which hydrangeas love.
- Eco-friendly and often free if you make your own.
Cons:
- Decomposes quickly, requiring frequent reapplication.
- It may attract pests if not fully composted.
My Experience: I started composting kitchen scraps last year. Spreading a thin layer around my hydrangeas gave them a noticeable boost. The blooms were bigger, and the leaves were greener.
3. Straw or Hay
Straw is a lightweight, affordable option, especially for rural gardeners. It’s great for insulating hydrangea roots in colder climates. Hay or straw mulch is best for gardens in the Upper Midwest and Great Plains, where winters are harsh.
Pros
- Excellent for winter protection in northern states.
- Breaks down into organic matter.
- Inexpensive and easy to apply.
Cons:
- It can look messy if not maintained.
- May contain weed seeds if not sourced carefully.
4. Leaf Mold
Leaf mold is simply decomposed leaves. It’s a fantastic, free option if you have deciduous trees in your yard. This is a great option for gardens in the Northeast and Midwest, where fallen leaves are abundant.
Pros
- Naturally acidic, ideal for hydrangeas.
- Improves soil texture and water retention.
- Free if you rake your own leaves.
Cons:
- Takes time to decompose properly (6–12 months).
- It can blow away in windy areas.
My Tip: I collect oak leaves every fall and let them sit in a pile until spring. The resulting leaf mold works wonders for my hydrangeas’ soil.
5. Pine Needles
Pine needles, or pine straw, are a favorite in the South. They’re lightweight and create a natural, woodland look. This organic mulch is best for Southern gardens, especially in the Carolinas, Georgia, and Florida.
Pros
- Acidifies soil, great for blue hydrangeas.
- Allows good airflow to roots.
- Slow to decompose, reducing maintenance.
Cons
- Not widely available in all regions.
- It can be slippery on slopes.
How to Choose the Right Mulch for Your Garden
Your choice of mulch depends on your region, climate, and hydrangea variety. Here’s a quick guide based on U.S. growing zones:
- Zones 3–5 (Cold Climates, e.g., Midwest, Northeast): Use straw or leaf mold for winter insulation. Shredded bark works well for year-round moisture retention.
- Zones 6–7 (Temperate Climates, e.g., Mid-Atlantic, Pacific Northwest): Pine bark or compost is ideal for balancing moisture and soil health.
- Zones 8–9 (Warm Climates, e.g., Southeast, Southwest): Pine needles or wood chips help with heat tolerance and moisture conservation.
- Zones 10–11 (Tropical Climates, e.g., Southern Florida, Coastal California): Compost or lightweight bark mulch prevents overheating while retaining moisture.
My Advice: Check your soil pH before choosing. Hydrangeas prefer slightly acidic soil (pH 5.5–6.5). If your soil is too alkaline, go for pine bark or pine needles to nudge it in the right direction.
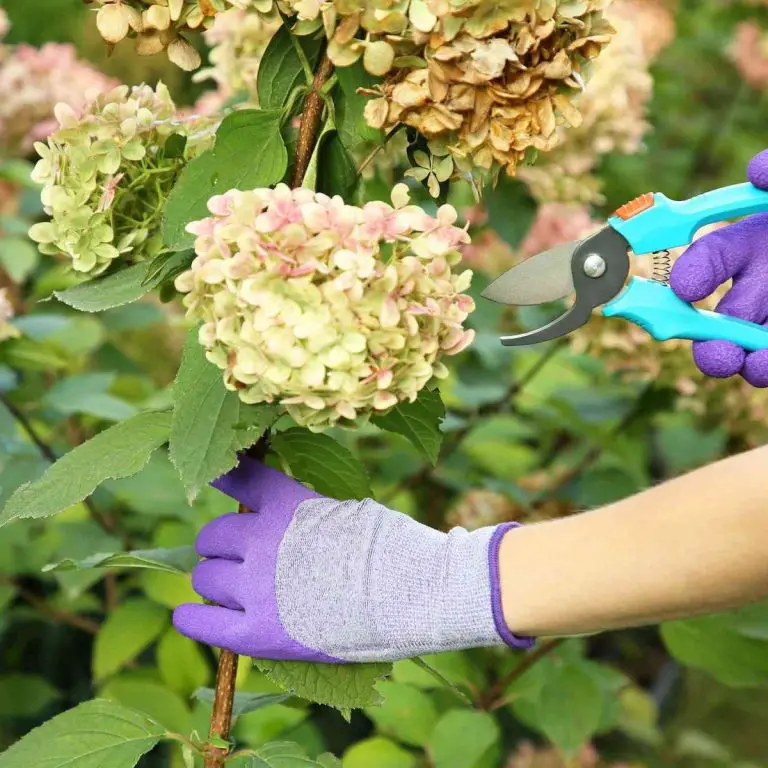
How to Apply Organic Mulch to Hydrangeas Like a Pro
Applying mulch sounds simple, but there’s an art to it. I made plenty of mistakes early on—like piling mulch too high and suffocating my plants. Here’s how to do it right:
Step 1: Prepare the Area
- Clear weeds and debris around the base of your hydrangeas.
- Water the soil thoroughly before mulching to lock in moisture.
- If your soil is compacted, lightly loosen it with a garden fork.
Step 2: Choose the Right Amount
- Aim for a 2–3 inch layer of mulch. Too little won’t retain moisture; too much can suffocate roots.
- For a 3-foot-wide bed, you’ll need about 1–2 cubic feet of mulch per plant.
Step 3: Spread the Mulch
- Start 2–3 inches away from the hydrangea’s stems to prevent rot.
- Spread mulch evenly in a circle around the plant, extending to the drip line (where the outermost leaves end).
- Smooth it out with a rake for a tidy look.
Step 4: Maintain the Mulch
- Check mulch depth every few months. Top it up if it’s less than 2 inches.
- Fluff compacted mulch with a rake to improve aeration.
- Replace straw or compost annually, as they break down faster.
My Mistake: I once piled mulch right against the stems of my hydrangeas. The stems started to rot, and I lost a plant. Now, I always leave a small gap around the base.
Mulching for Specific Hydrangea Varieties
Hydrangeas come in many types, and each has unique needs. Here’s how to mulch for the most common varieties in American gardens:
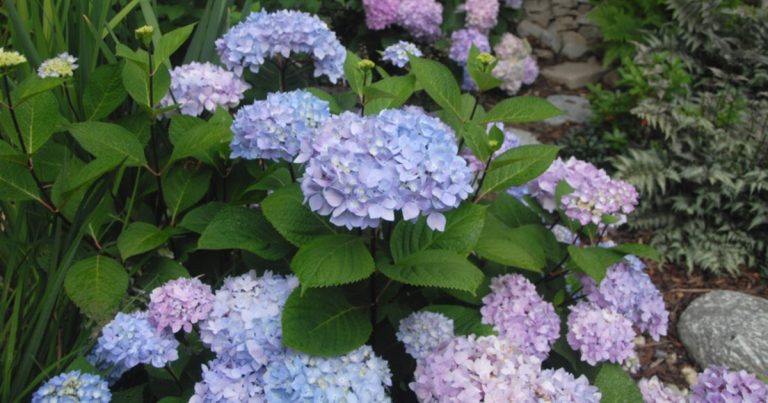
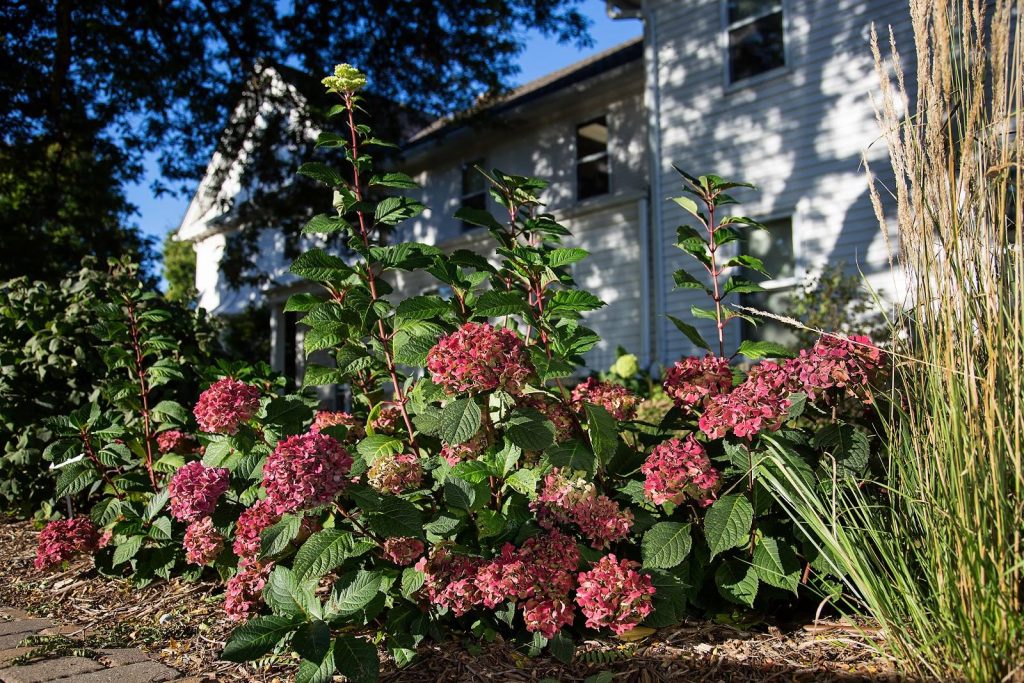
1. Bigleaf Hydrangeas (Hydrangea macrophylla)
- Needs: Acidic soil (pH 5.5–6.5) for blue blooms; slightly less acidic for pink.
- Best Mulch: Pine bark or pine needles to maintain acidity.
- Tip: I test my soil yearly to ensure my ‘Endless Summer’ hydrangeas stay blue.
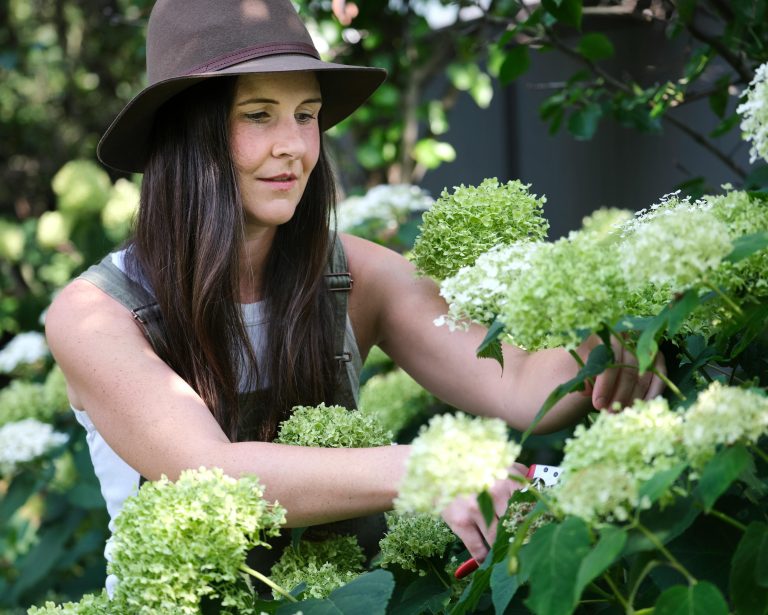
2. Panicle Hydrangeas (Hydrangea paniculata)
- Needs: Tolerate a wider pH range and drier conditions.
- Best Mulch: Wood chips or compost for moisture and nutrients.
- Tip: My ‘Limelight’ hydrangeas thrive with a light compost layer in spring.
3. Smooth Hydrangeas (Hydrangea arborescens)
- Needs: Hardy and adaptable, but love rich soil.
- Best Mulch: Leaf mold or compost to boost fertility.
- Tip: I use leaf mold around my ‘Annabelle’ hydrangeas for lush growth.
4. Oakleaf Hydrangeas (Hydrangea quercifolia)
- Needs: Well-drained soil and partial shade.
- Best Mulch: Pine straw or bark to mimic their native woodland habitat.
- Tip: Oakleaf hydrangeas in my yard love pine straw for a natural look.
Common Mulching Mistakes to Avoid
I’ve made my fair share of mulching blunders. Here are the top mistakes to steer clear of:
- Mulching too close to stems: This traps moisture and causes rot. Always leave a 2–3 inch gap around the base.
- Using fresh wood chips: Fresh chips can rob nitrogen from the soil as they decompose. Let them age for 6–12 months first.
- Applying too much mulch: A layer thicker than 3 inches can suffocate roots and block water.
- Ignoring weeds: Mulch over weeds, and they’ll push through. Clear the area first.
- Skipping maintenance: Check mulch regularly. Compacted or thin mulch won’t do its job.
My Lesson: I once used fresh wood chips from a tree service. My hydrangeas yellowed from nitrogen deficiency. Now, I compost chips first or buy aged mulch.
Seasonal Mulching Tips for Hydrangeas
Hydrangeas need different care throughout the year. Here’s a seasonal guide to mulching:
Spring
- Remove old mulch from winter to prevent rot.
- Apply a 2-inch layer of compost or leaf mold to kickstart growth.
- Test soil pH and adjust with pine bark if needed for blue blooms.
Summer
- Check mulch depth monthly; top up to 2–3 inches if it’s thinning.
- Use lightweight mulch like pine needles in hot regions to avoid overheating.
- Water deeply before reapplying mulch to lock in moisture.
Fall
- Add a 3–4 inch layer of straw or bark in cold climates to insulate roots.
- Clear fallen leaves from mulch to prevent mold.
- Avoid heavy pruning, as mulch can’t protect new cuts from frost.
Winter
- In zones 3–5, pile straw or leaf mold around the base for extra protection.
- Check mulch after heavy snow or rain; redistribute if it’s washed away.
- Avoid compacting mulch by walking on it during freezes.
My Routine: In the fall, I pile straw around my hydrangeas to protect them from early frosts. Come spring, I swap it for compost to feed the soil.
Environmental Benefits of Organic Mulch
Using organic mulch isn’t just good for your hydrangeas—it’s great for the planet. Here’s how:
- Reduces water waste: Mulch cuts down on evaporation, saving water in drought-prone areas like California.
- Lowers chemical use: By suppressing weeds, mulch reduces the need for herbicides.
- Recycles waste: Compost and leaf mold turn kitchen scraps and yard waste into garden gold.
- Supports soil health: Organic mulch fosters beneficial microbes, creating a thriving ecosystem.
- Carbon sequestration: Decomposing mulch stores carbon in the soil, fighting climate change.
My Take: Switching to organic mulch made my garden more sustainable. I feel good knowing I’m helping the environment while my hydrangeas flourish.
Troubleshooting Mulch-Related Issues
Even with the best intentions, mulch can cause problems. Here’s how to handle common issues:
1. Fungal Growth
- Cause: Excess moisture from thick mulch or poor drainage.
- Solution: Reduce mulch to 2 inches and improve soil drainage with compost.
2. Pests Like Slugs
- Cause: Moist mulch can attract slugs or rodents.
- Solution: Use coarse mulch like bark chips, which pests avoid. Check regularly for nests.
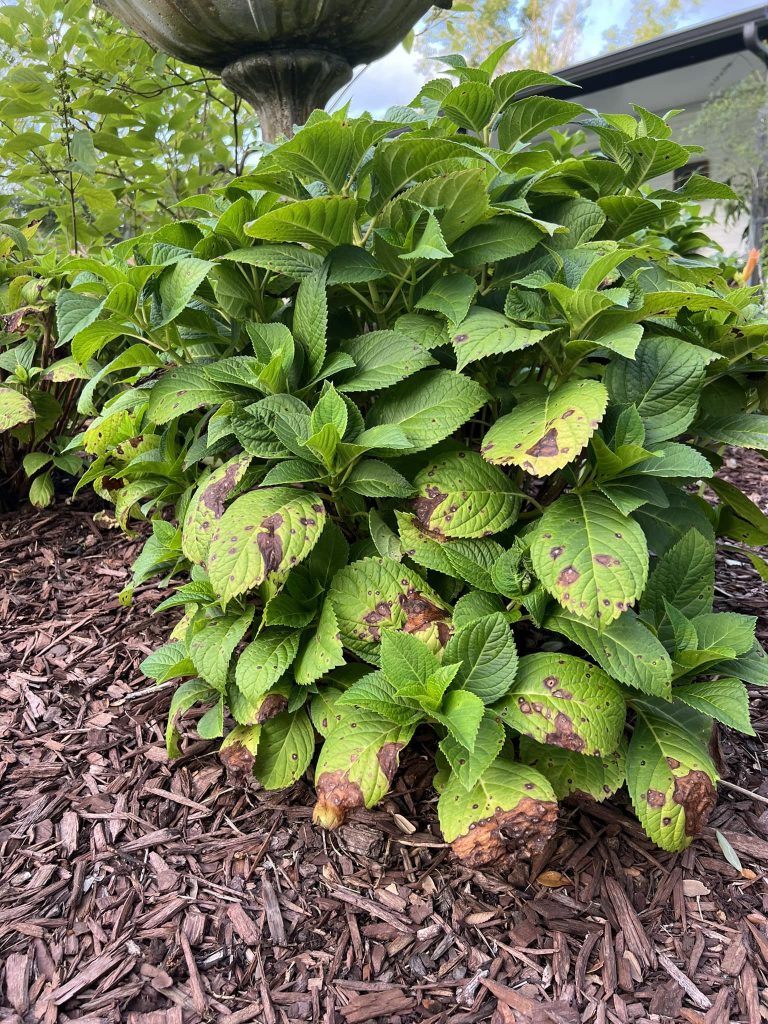
3. Yellowing Leaves
- Cause: Nitrogen deficiency from fresh wood chips.
- Solution: Add a nitrogen-rich fertilizer or switch to aged mulch.
4. Mulch Washing Away
- Cause: Heavy rain or sloped gardens.
- Solution: Use heavier mulch like wood chips and create a slight berm to hold it in place.
My Fix: Slugs were a nightmare in my damp garden bed. Switching to coarse pine bark solved the issue, and my hydrangeas thanked me with bigger blooms.
Suggested For You:
Understanding Hydrangea Wilting: 5 Steps to Save the Plant
Saving Your Hydrangeas: Preventing and Treating Root Rot
7 Fixes for Yellowing Hydrangea Leaves
7 Steps to Save Your Overwatered Hydrangea
8 Reasons Your Hydrangeas Did Not Bloom This Season + What to Do Next
Final thoughts
Organic mulch is more than a gardening chore—it’s a love letter to your hydrangeas. It keeps them hydrated, healthy, and blooming like crazy. Whether you’re in the humid South or the chilly Northeast, there’s a mulch that fits your garden’s needs.
I’ve seen my hydrangeas go from surviving to thriving since I started mulching the right way. Try pine bark for acidity, compost for nutrients, or leaf mold for a budget-friendly boost. Experiment, observe, and enjoy the process. Your hydrangeas will thank you with stunning blooms year after year.
References
- University of Georgia Extension. (2023). Growing Bigleaf Hydrangea. https://extension.uga.edu/publications/detail.html?number=B1318
- Missouri Botanical Garden. (2021). Hydrangea Care Guide. http://www.missouribotanicalgarden.org/gardens-gardening/your-garden/help-for-the-home-gardener/advice-tips-resources/plant-care/hydrangea.aspx
- USDA Plant Hardiness Zone Map. (2023). https://planthardiness.ars.usda.gov/
Tim M Dave is a gardening expert with a passion for houseplants, particularly cacti and succulents. With a degree in plant biology from the University of California, Berkeley, he has vast experience in gardening. Over the years, he has cultivated a vast collection of desert plants and learned a great deal about how to grow and care for these unique companions.